TomTom GPS Handlebar Stem Mount
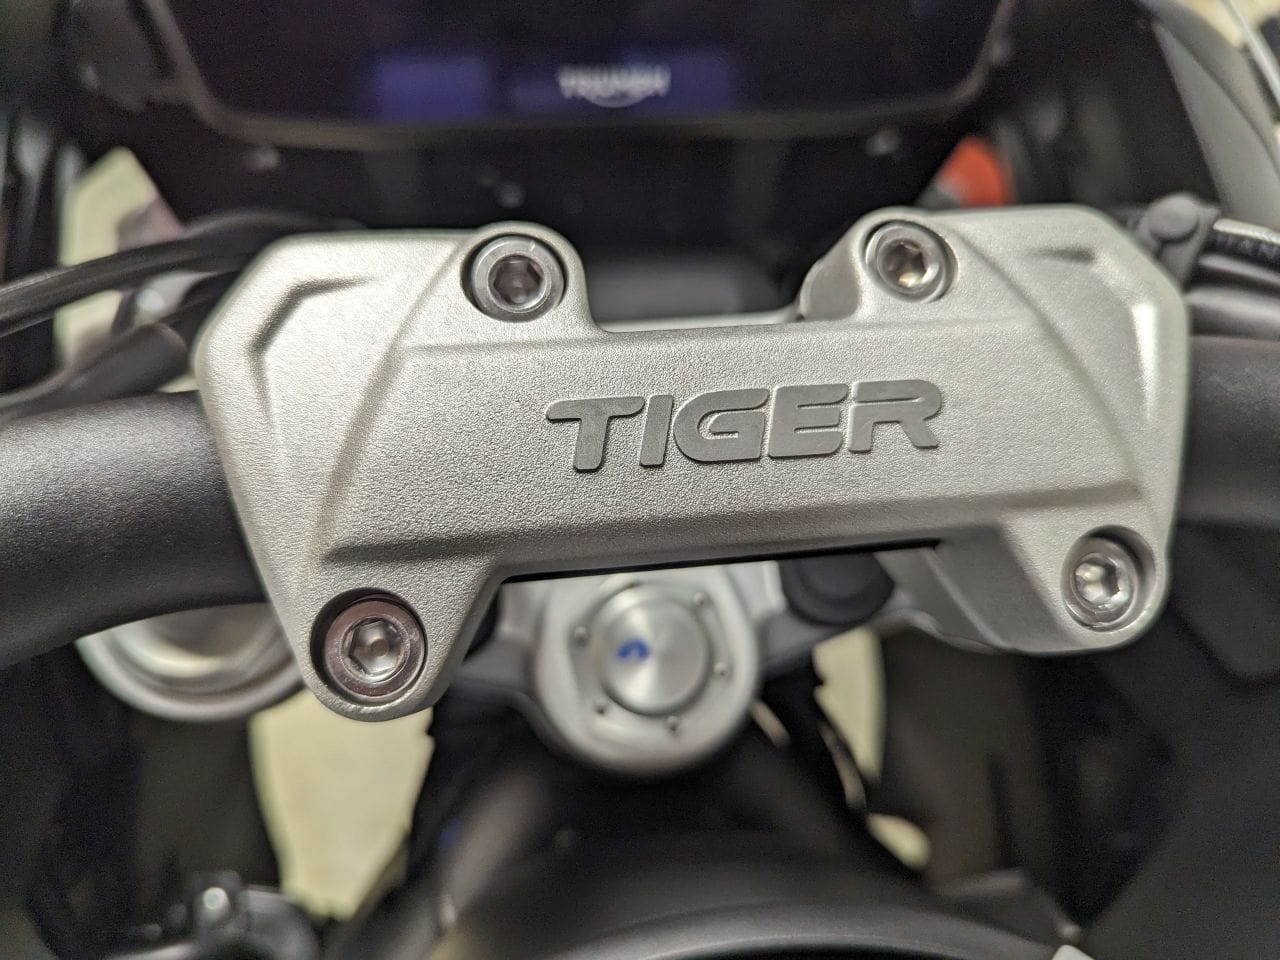
With the new 2023 Triumph Tiger 1200 Explorer, the handlebar stem is vastly different. On my Tiger 900, I mounted the GPS in the middle of the handlebar stem so it was centered and easy to view while driving. The 1200 that is not possible since the handlebar stem is a single piece.
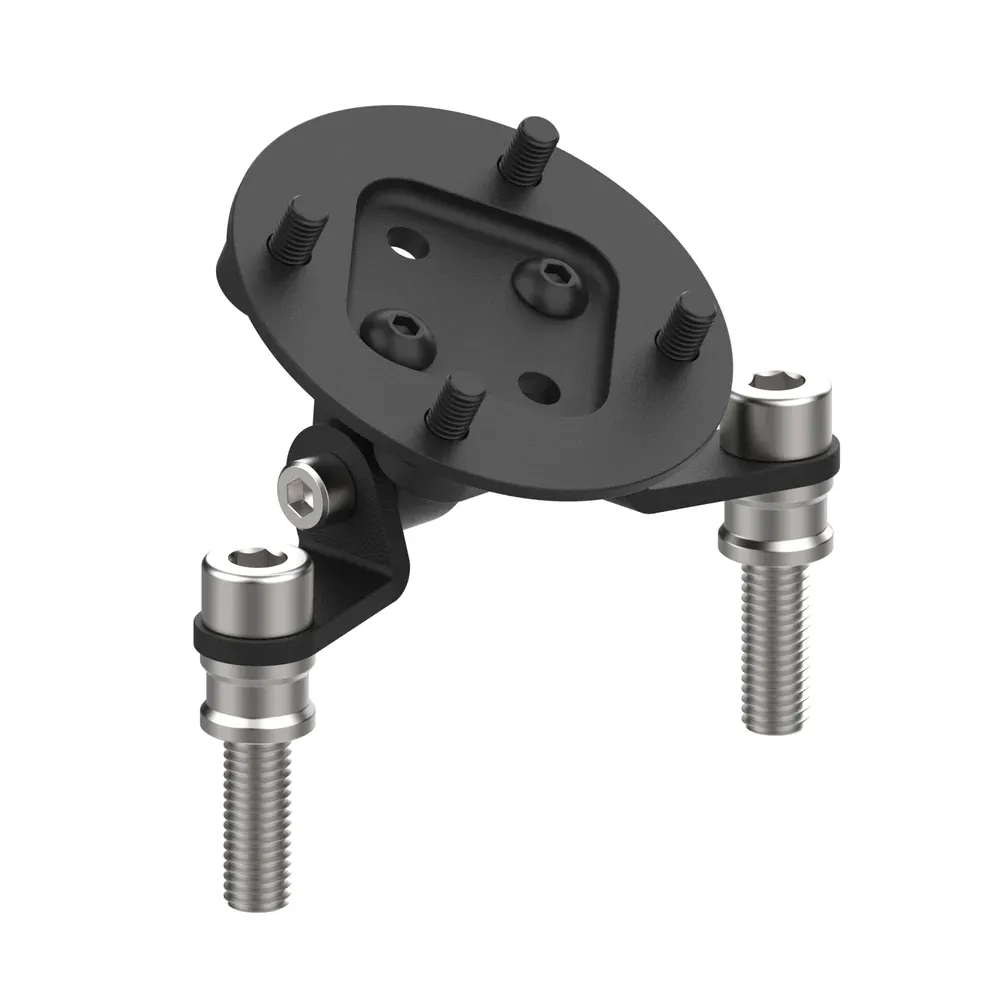
Since the stem is one piece, I needed to find a different mount for my GPS if I wanted it centered below the screen. Fortunately a company called Evotech makes a number of parts for the new Explorer, including a GPS mount. They even have one specific for my Tom Tom GPS (they also have Garmin).
Once the package arrived, I opened it up to look at the contents.
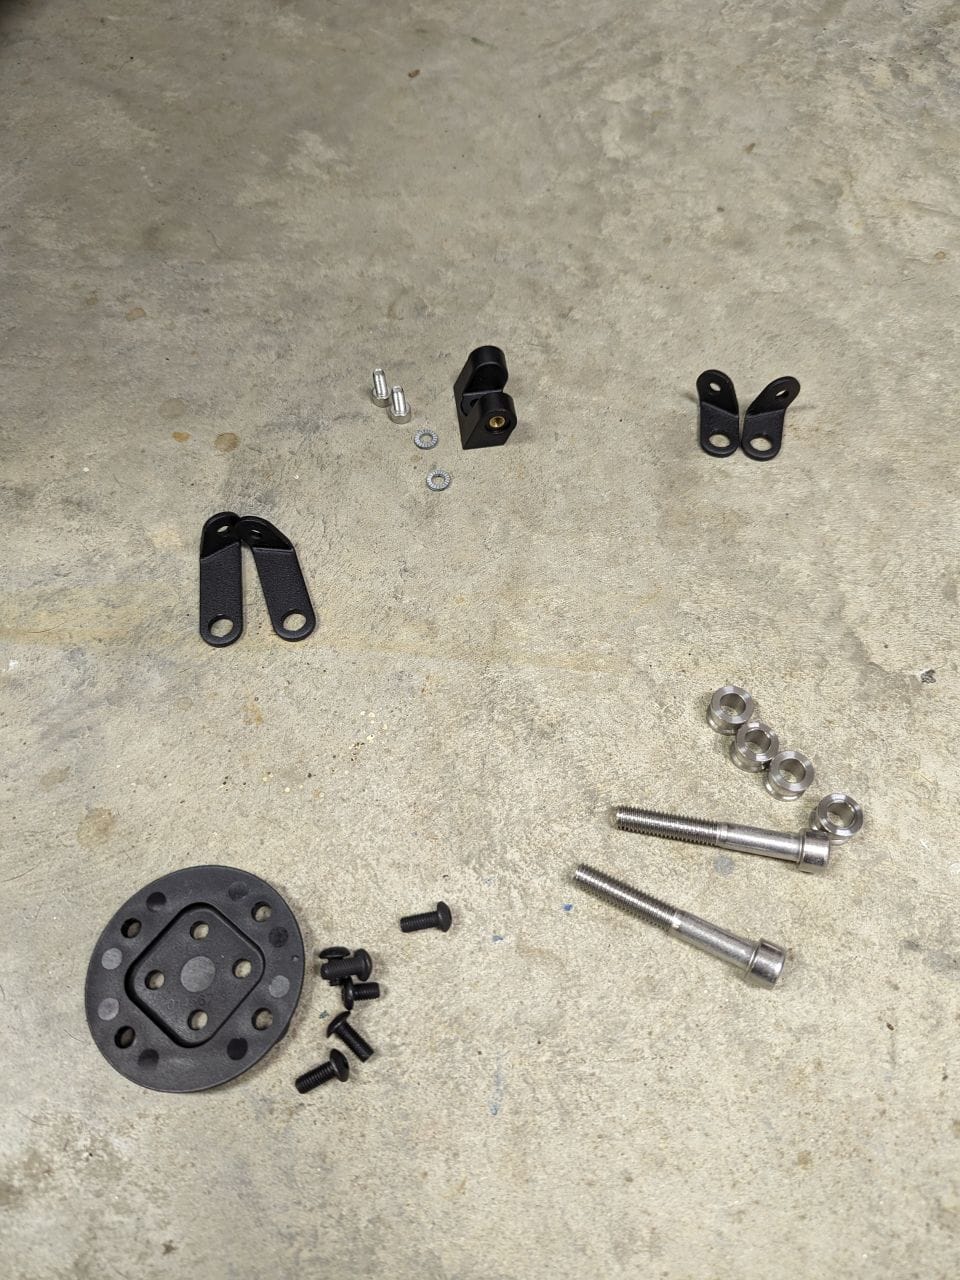
The first thing I noticed when I opened the package was no instructions. Luckily I was able to find the on the Evotech website. After reviewing the instructions, the parts began to make sense.
First, there are actually TWO different mounts. Those are the angle brackets shown. One set is long and the other set is short. If you go back and look at the handlebar stem, the top screws are mounted closer than the bottom screws hence the short mount is for the top and the long mount for the bottom.
Grabbing the longer mounts, you insert the other piece of the mount that goes in-between and allows the actual GPS unit to swivel up and down.
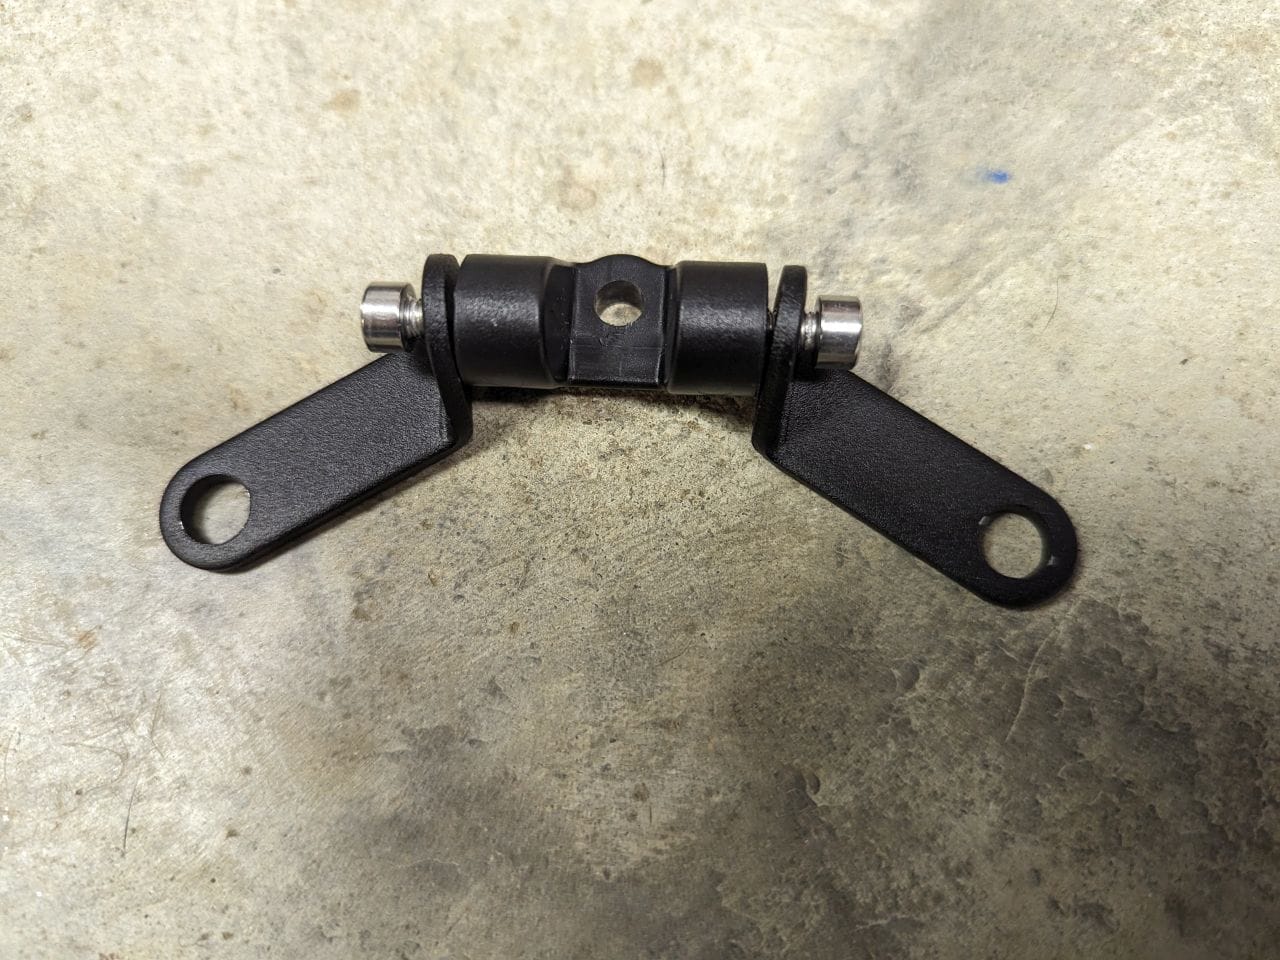
So now it makes sense. The swivel piece screws onto the back of the round GPS bracket which screws on the actual GPS mount.
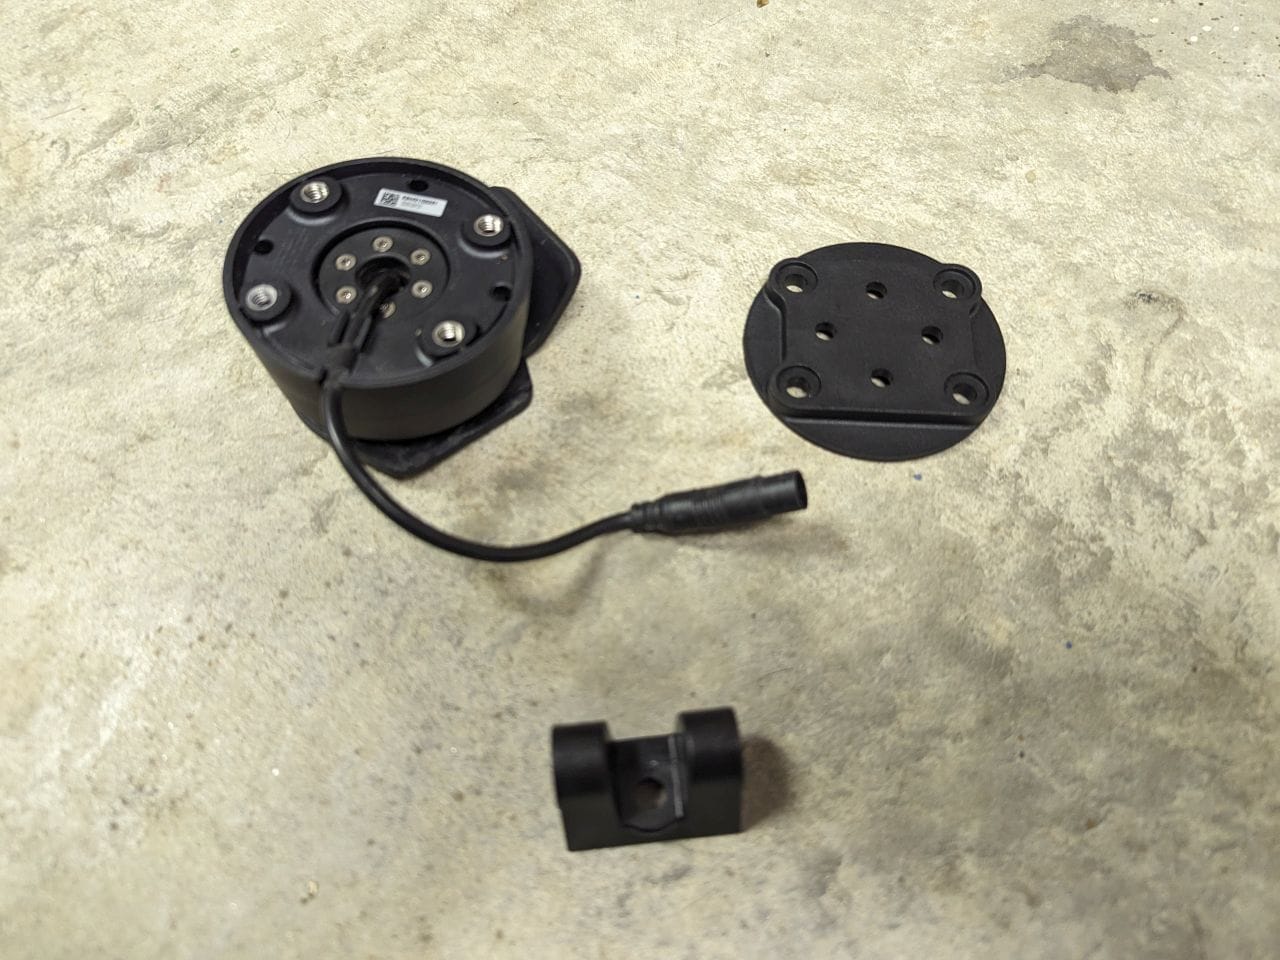
Before you start putting these pieces together, note that there are 6 screws. Two are not like the others!
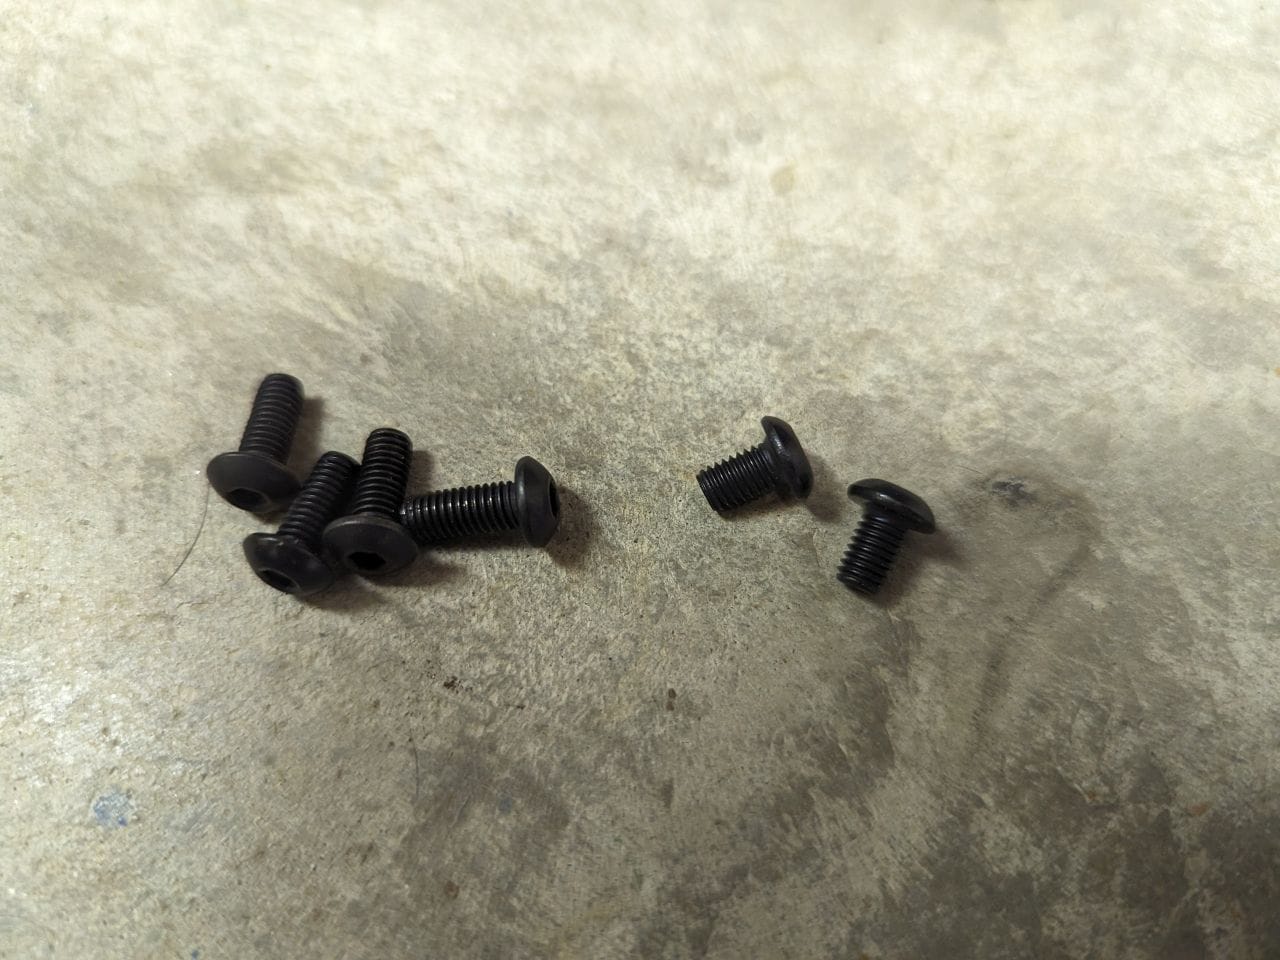
Those two short screws are used to mount the swivel to the backplate. That must be screwed on first.
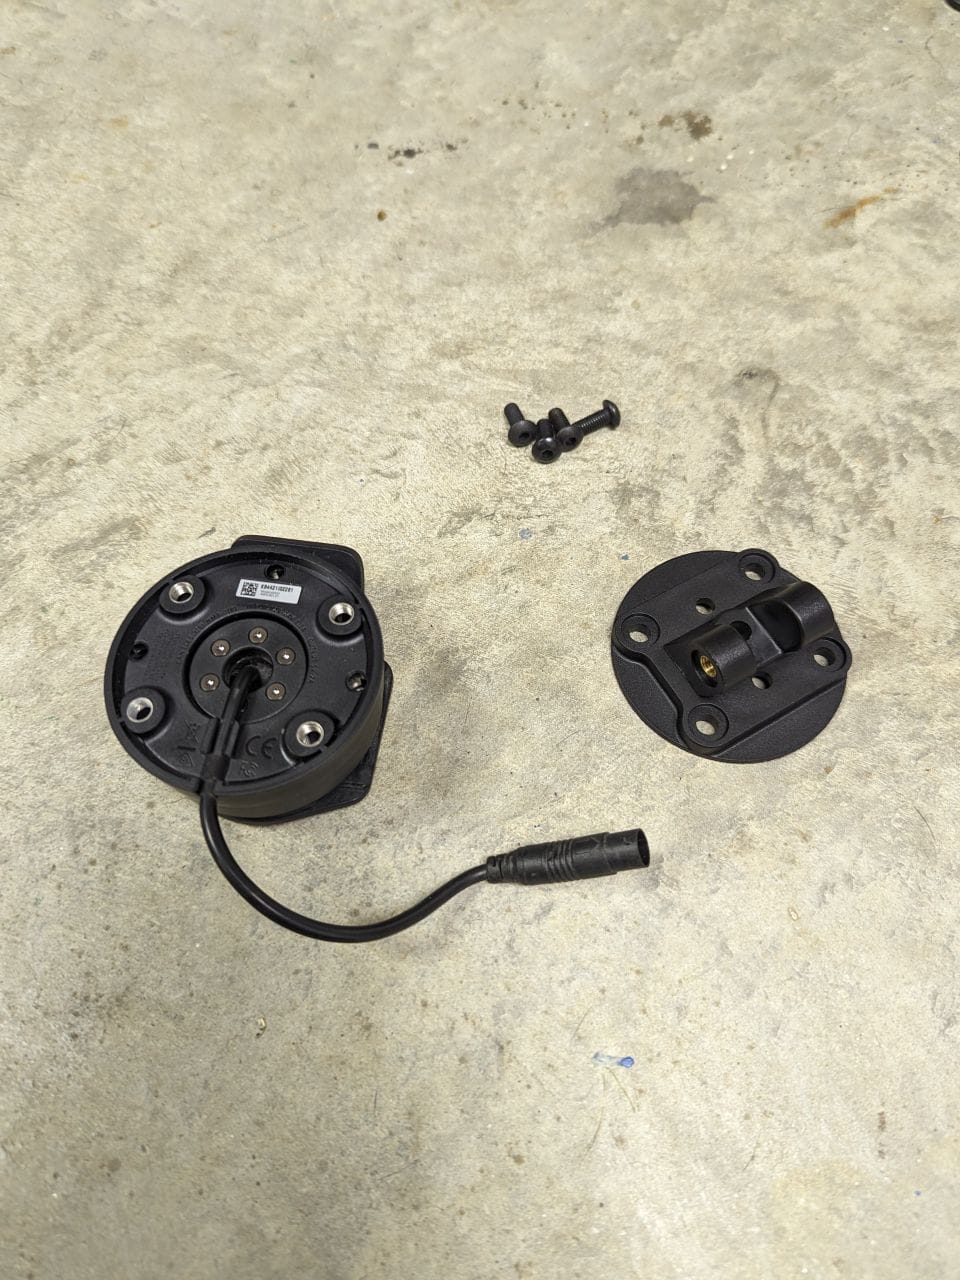
With the swivel in place, screw the back plate onto the Tom Tom GPS mount.
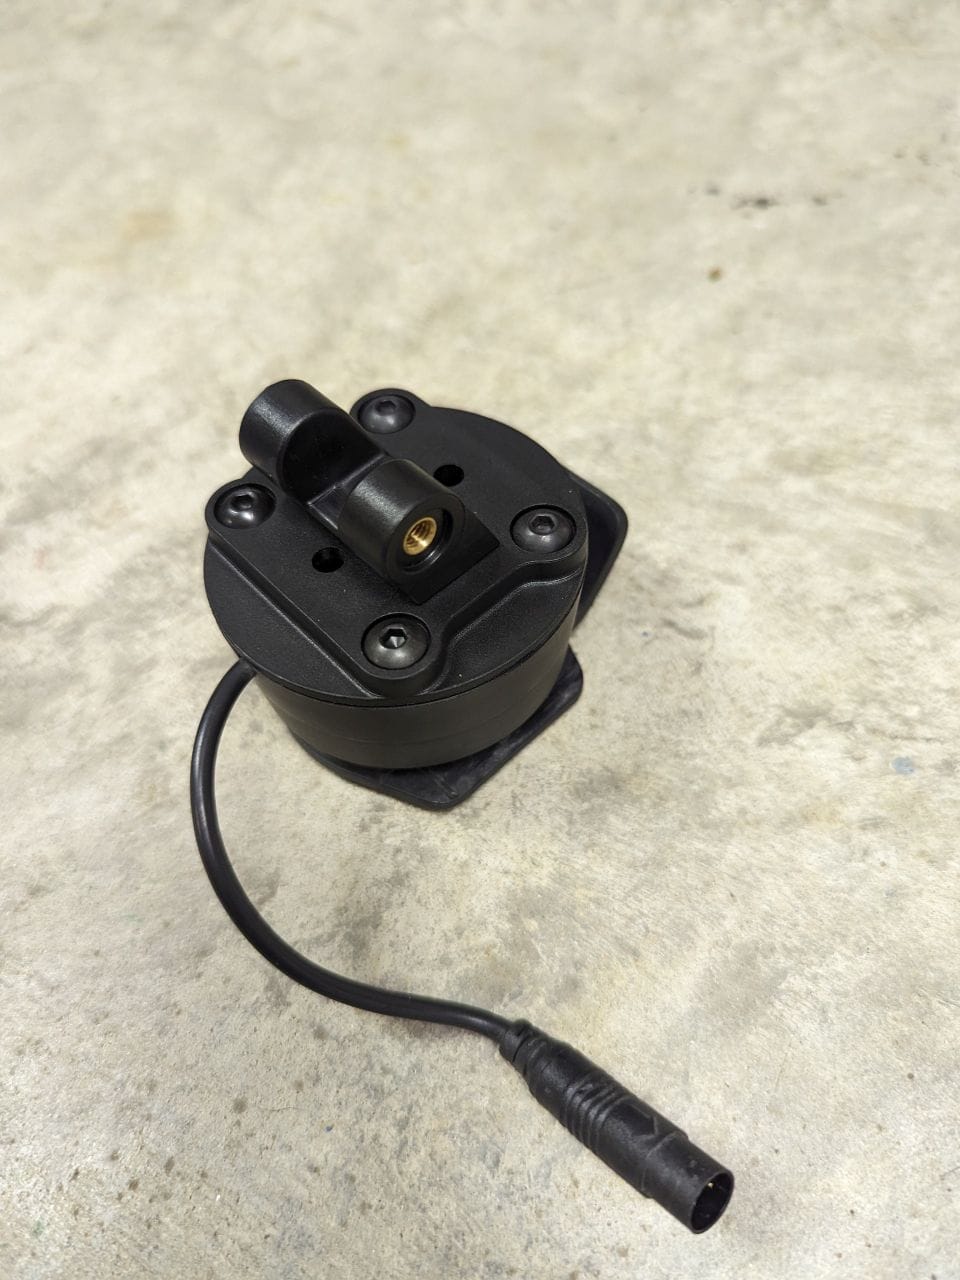
With the GPS unit fully installed, we just need to attach it to the bike. You will notice that that unit comes with spacers. You MUST use a spacer when installing the L shaped brackets. In my case, I have already installed Handlebar Guards which included adding spacers so I do not have to use those that came with the GPS mount.
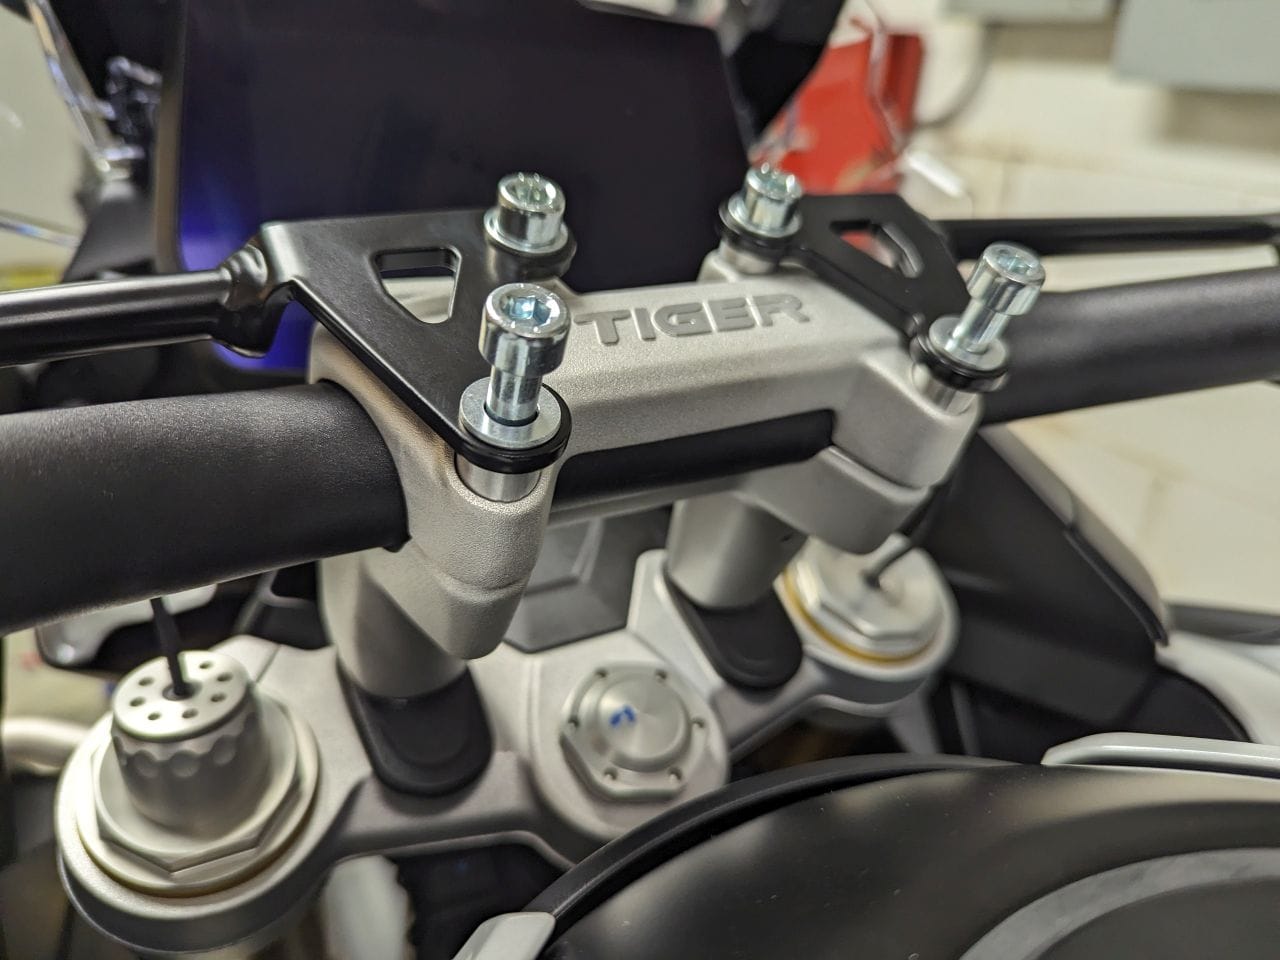
I removed the two lower bolts and installed the L brackets attached to the GPS mount's swivel. Once mounted, tighten the bolts to spec. Set the angle you want for the GPS and tighten the swivel screws. Now all that is left is to wire up the GPS.
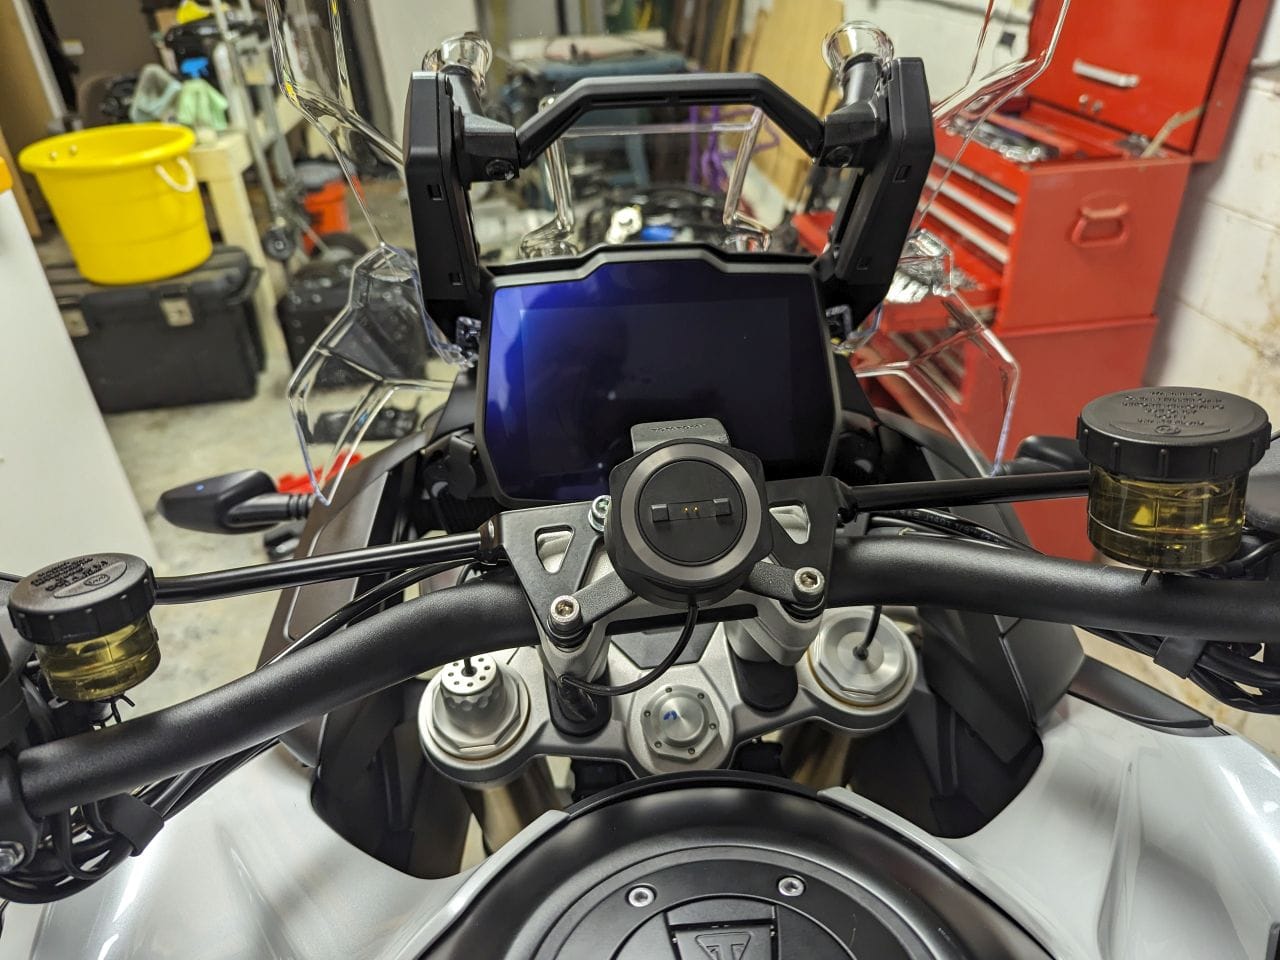
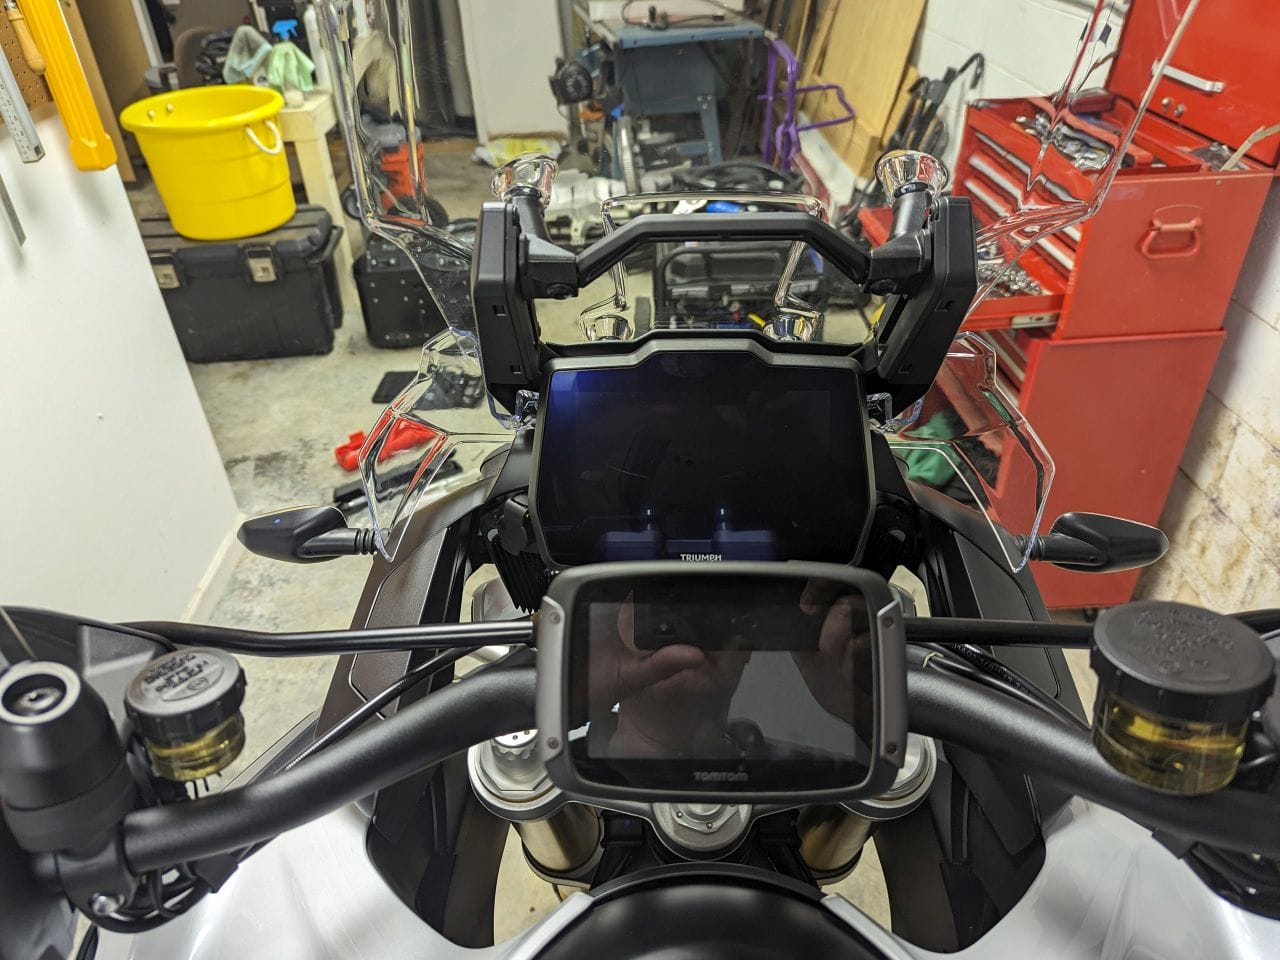
The mount with and without the GPS
You can still use this mount without the wiring hooked up but you will need to keep it charged. I intend on hard wiring the unit and will get around to that later.
