Redverz Motorcycle Tent

So what is this monster of tent? This tent is made by Redverz and it specifically a tent designed for motorcycle camping. It has a garage! So why another tent? For me, I wanted ease of setup along with more room AND enough coverage to stay out of the weather. This tent does all that. Let me explain.
One issue I have encountered specifically is that most tents are too short. Both in the height but mainly in the width. When I sleep, my head touches one side of the tent and my sleeping bag and feet touch the other. Add a bit of condensation and it does not make for a pleasant night. Also, getting in and out of the tent can be interesting especially in weather (think rain) or in colder weather and the interior of the tent has condensation. There had to be something better.
Another issue is in bad weather, where can you cook or just hang out? To help alleviate that issue we carry a tarp that can be put up to give some coverage to sit under while cooking or when it is raining. It also is nice to use just to get out of the sun. It works but leads to the next issue.
We want ease of setup. With my other tent, you need to stake out your ground cloth, then stake out your tent. Next, connect the poles and put them on the tent. Then clip the poles to the tent. Finally grab the fly and put that over the tent, Velcro it to the poles, connect it to the tent and stake it out. Then we need to put up our tarp. All that takes a lot of time and try doing it in the rain and NOT get the inside of your tent soaked. Or the reverse, taking it down and keeping the inside of your tent dry.
So the research began. Redverz is NOT the only motorcycle tent out there. We compared others but liked all the features in this tent the best. This tent is NOT light (around 14lbs). That is a lot but lets take a look to see how much weight it really is adding.
My current tent by Big Agnes is 6lbs 11oz. The ground sheet is 1lb 1oz. The tarp is 2lbs 2oz. All totaled, that is almost 10lbs. So in reality, I am adding an additional 5lbs to the bike. Given the amount of space in the sleeping quarters (95" x 92") and a garage to keep my bike out of sight and the additional 62" of vestibule space on the other side of the bike, 5lbs is a small price to pay. Not to mention the ease of setup.
Speaking of the setup, lets walk thru it real quick.

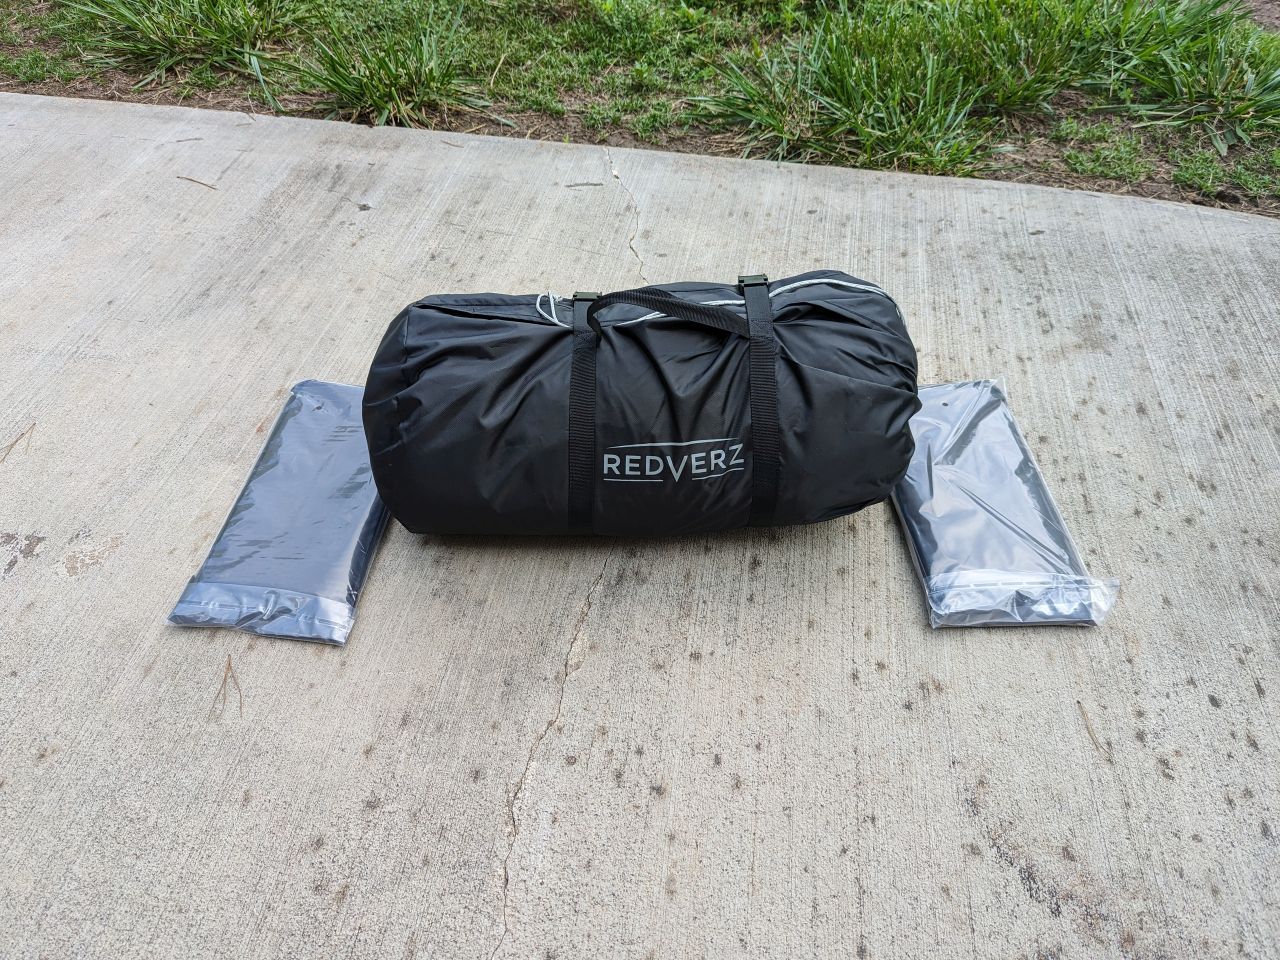
The ground sheets came separately (but they will be attached to the tent when packed up).

Pull the tent from the bag and it is cinched with straps.

Unroll the tent and you find the stakes and the poles.

Unfold the tent and spread it out. Notice that this is the outside of the tent. Nothing on the inside is exposed to the elements.

Once unfolder, find the "wind" side of the tent (yes it is marked with the red loops). Stake both sides down. Slip the 3 poles in their sleeves and lock them to the tent. Now go to the opposite side of the tent. Grab the two stake loop and lift up the tent. It will stand up. Stake the two loops down.

Once the four stakes are in the ground, that is basically it. Now you can do some minor adjustments and stake out the side lines if needed. Here you can see ALL the doors are open.


Once up, both ground sheets were attached (not pictured). They stay attached so the next time the tent is setup, everything is there.
This tent is large. It will not fit in the panniers so I was looking at the bike to see how it would ride.


This is close to where it will be stored on the bike. The duffle will be moved up closer to the front but other than that, it will ride up top.
I am really excited about this tent and hope it will work as intended. Hoping for an easier setup and take down, plenty of room for move around and stand, privacy for the bike, and generous room for staying out of the sun and rain. After a few trip have been taken using this tent, I will write up some more.
