Camping in the Redverz

When the Redverz tent first arrived, I immediately took it out to the backyard and set it up (you can read more about it - Redverz Motorcycle Tent). Just as described on their website, it was easy to setup and take down. Now I wanted to try it out in the real world on a camping trip.
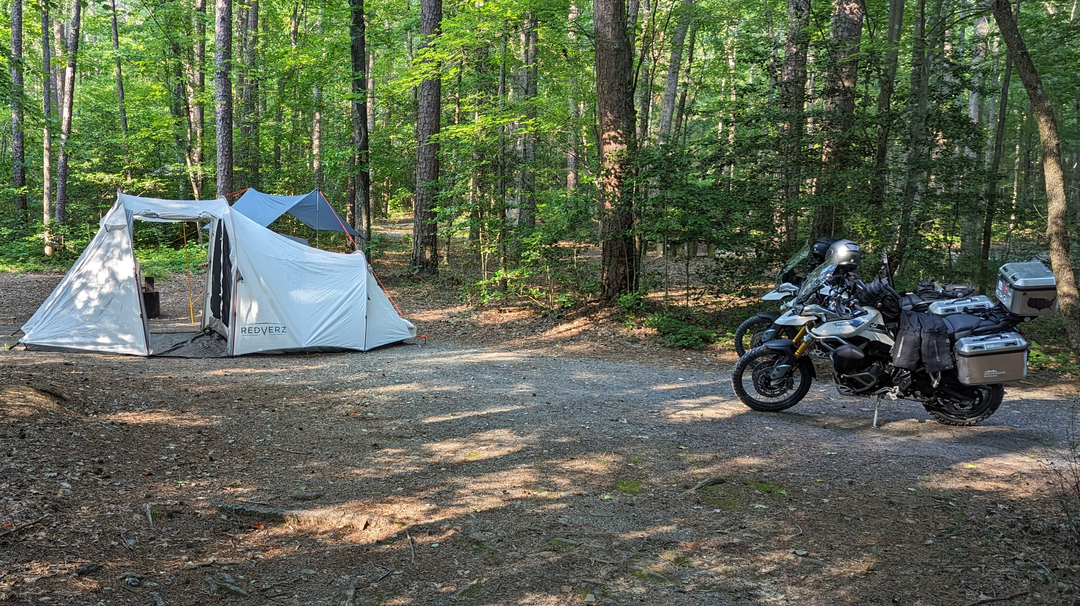
The next weekend was going to be nice and cool so we headed out to the national forest for a quick night out. The tent traveled well. For this trip, it was stowed behind my duffle on the seat (although it may get placed on top of one of the side panniers - not sure yet). Once we arrived and picked a site, the setup began.
This tent it long! The first time the intial two stakes were put in the ground, both of us realized that it would be to close to the picnic table and the fire pit. Easy enough to fix...yanked the stakes, moved it around and found a much better spot.
It took less than 10 minutes to get setup completely (I really did not time it but it was quick). With the first two stakes in the ground, the poles needed to be put into their sleeves and inserted in the tent. Keep in mind with this tent, the actual sleeping area module and both ground cloths are attached while setting it up.
With the three poles in place, grabbing the unslaked side of the tent, a quick lift and the tent was upright. With a bit a shifting, the next two stakes were in place. I did walk around the tent adjusting the pole placement which required a small stake readjustment but basically it was done.

I did knot stake out any of the fly lines since it is not windy. I did stake out the bottom sides around the tent. Then all the doors were opened to expose the screens. All that is left is to put my items in the tent.
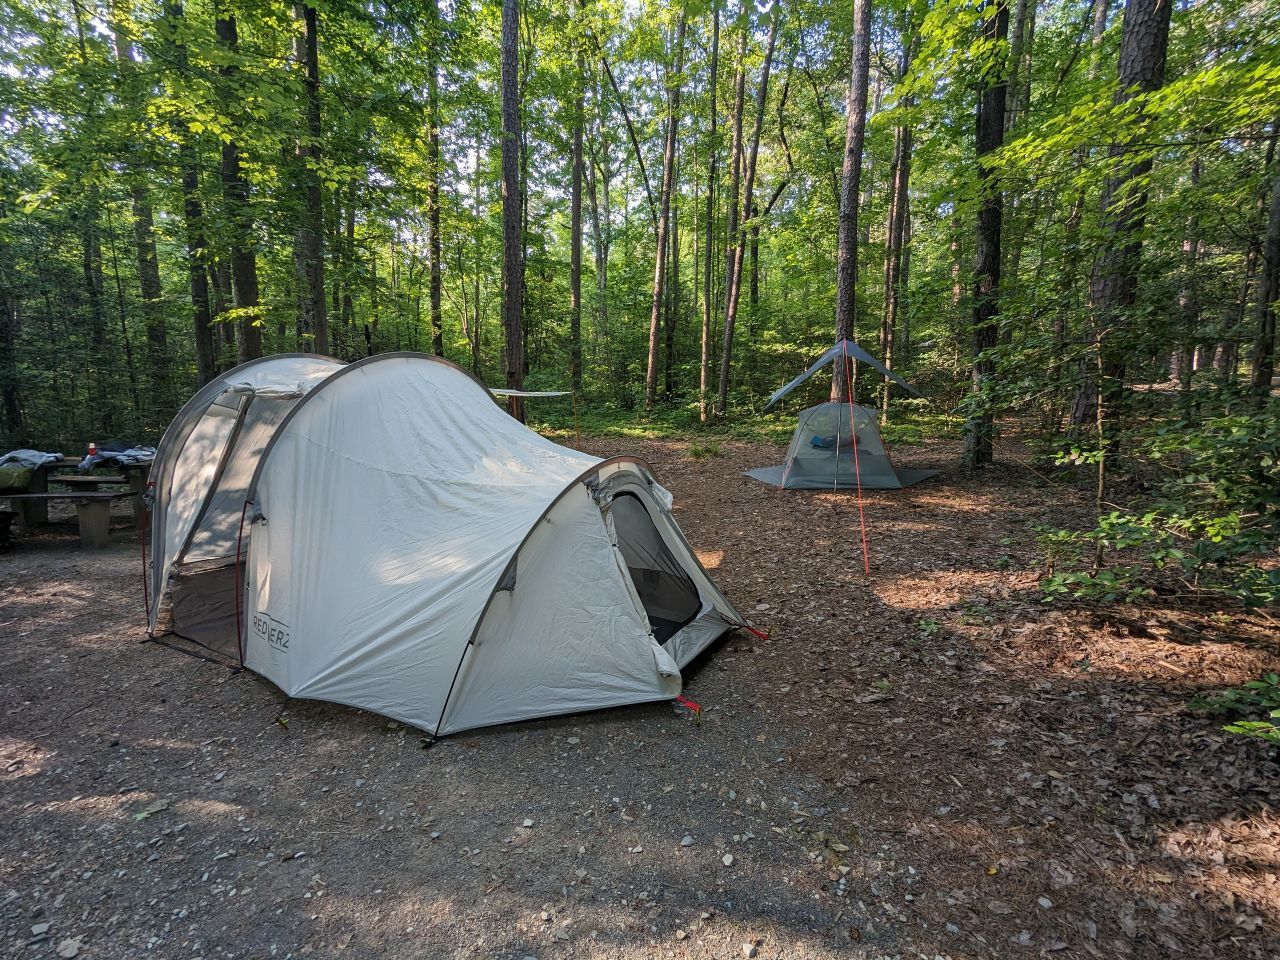
Overall the setup was very simple. Even though the tent is large, it is still manageable. It is nice having everything assembled when setting up the tent.
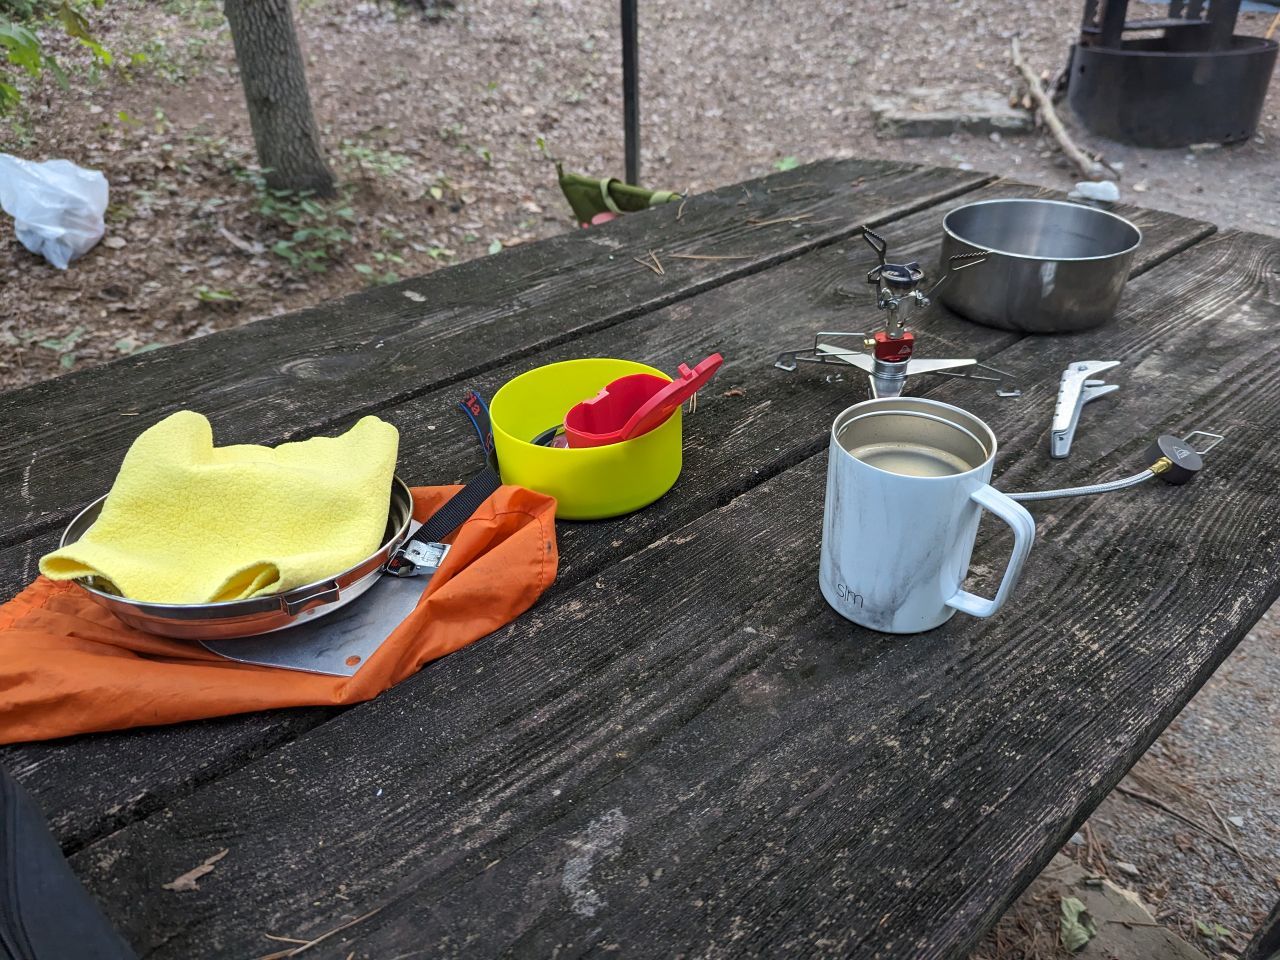
The next morning, a quick breakfast to start the day.
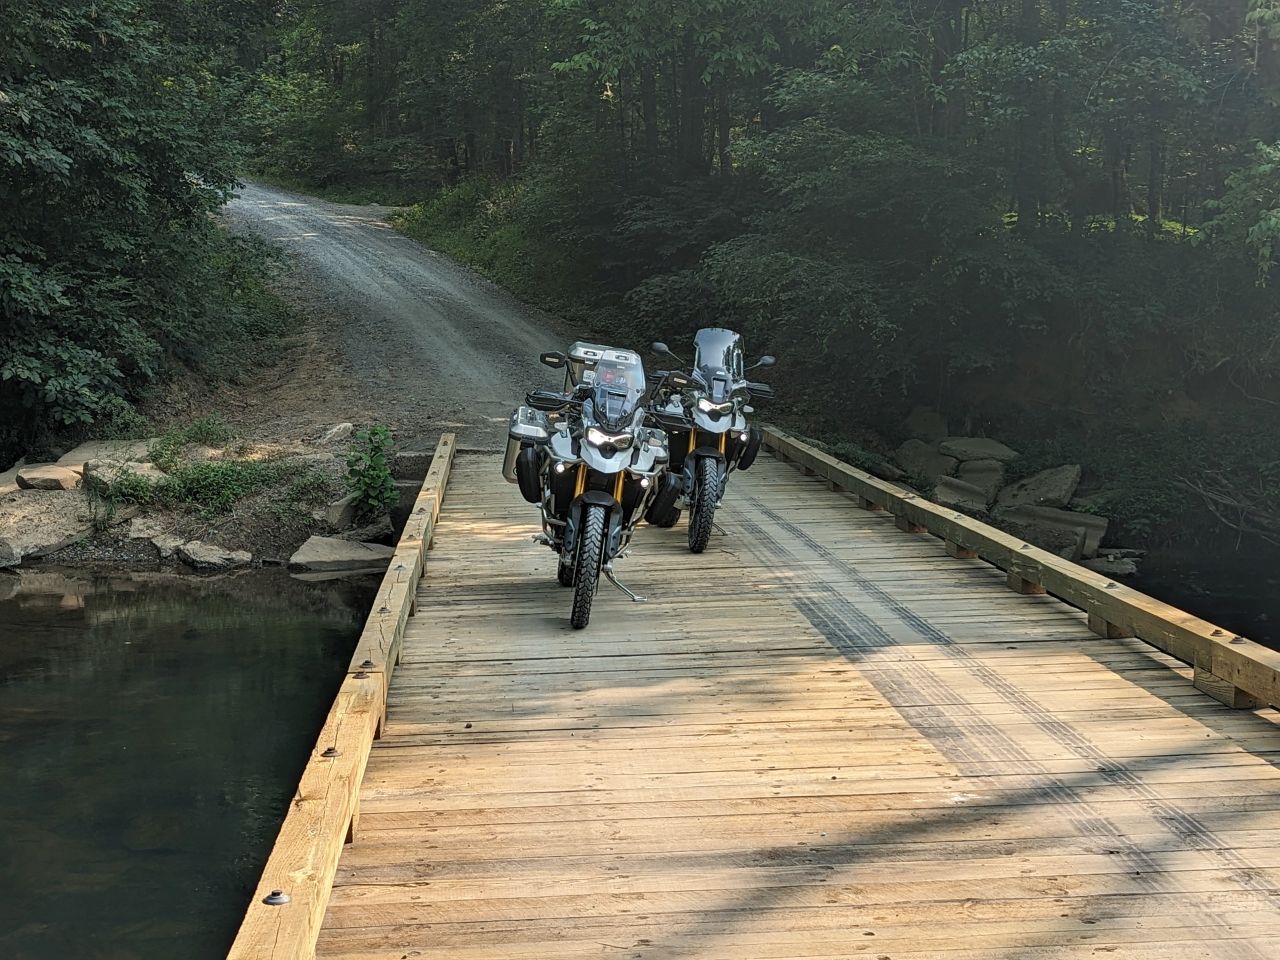
We decided to go out for a quick ride before packing up.
When we got back, the next true test is packing the tent back into the bag. The tent was completely dry EXCEPT for the underside of the ground cloths. And since we camped in dirt/gravel, when rolling up the tent, you needed to brush off the debris.
The take down was simple. Took the stakes out except for the original side (the wind side). Removed the poles. Removed the first two stakes. Then taking one of the long sides of the tent, folding it over the "wind" side (yes, there is one side of the tent called the wind side). The idea is to fold the tent on the sleeping area of the tent into a nice rectangle. Then fold it into thirds. The goal is to get the width to about 21" (the length of the folded poles).
Placing the poles and stakes on the tent, start rolling. Be sure to dust off debris if you can while you are rolling. The most important thing is to compress the tent well while you roll it. If it is too fat, getting it back into the bag is VERY difficult. Once all rolled up, cinch the straps around the tent and stuff back into the bag. You are now ready for the next adventure.
Once home, the tent was pulled out and laid out to air dry. Once dry, another quck shake to remove any debris and it was rolled up and put back in the bag for the next trip.