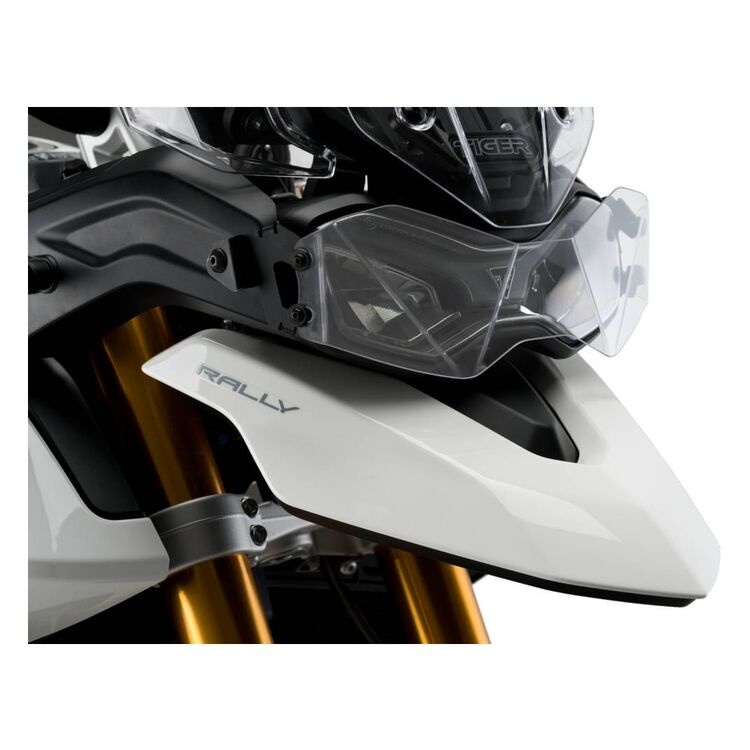
Puig Headlight Protector

The more riding we do, I have noticed quite a number of rocks being thrown my way. I think most it has to do with Kirk usually taking the lead (thanks Kirk). It got me thinking more about my headlamp. A few months back, I looked into a headlight protector but most were those cages.
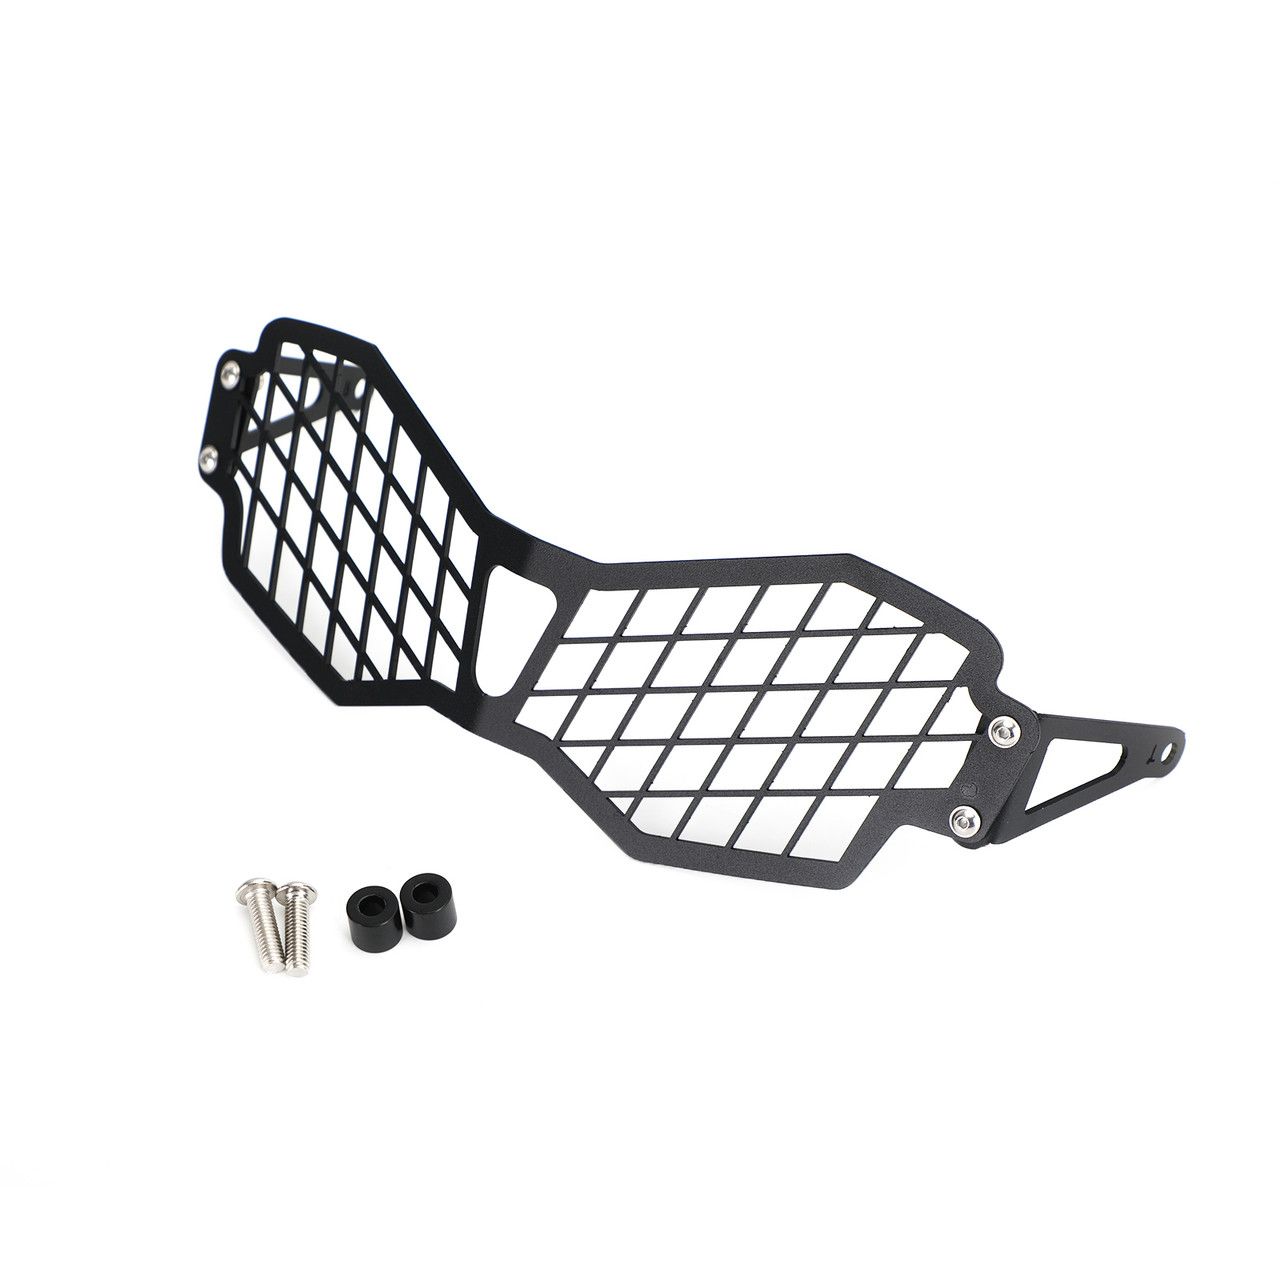
I was not interested in this type. For one, to clean my headlamp, I would need to remove it, clean the bugs, etc, and put in back on. Also, there are some small rocks that may be able pass through the cage. Also, and I am not sure, but does that block some of the light? Anyway, I was not sold on the cage style protector.
As I was looking, I found a plexiglass one I liked. The problem? Not available. So I used the Notify Me When Available button and entered my email address. Last week, I was notified. I immediately purchased the item and it came in the mail today.
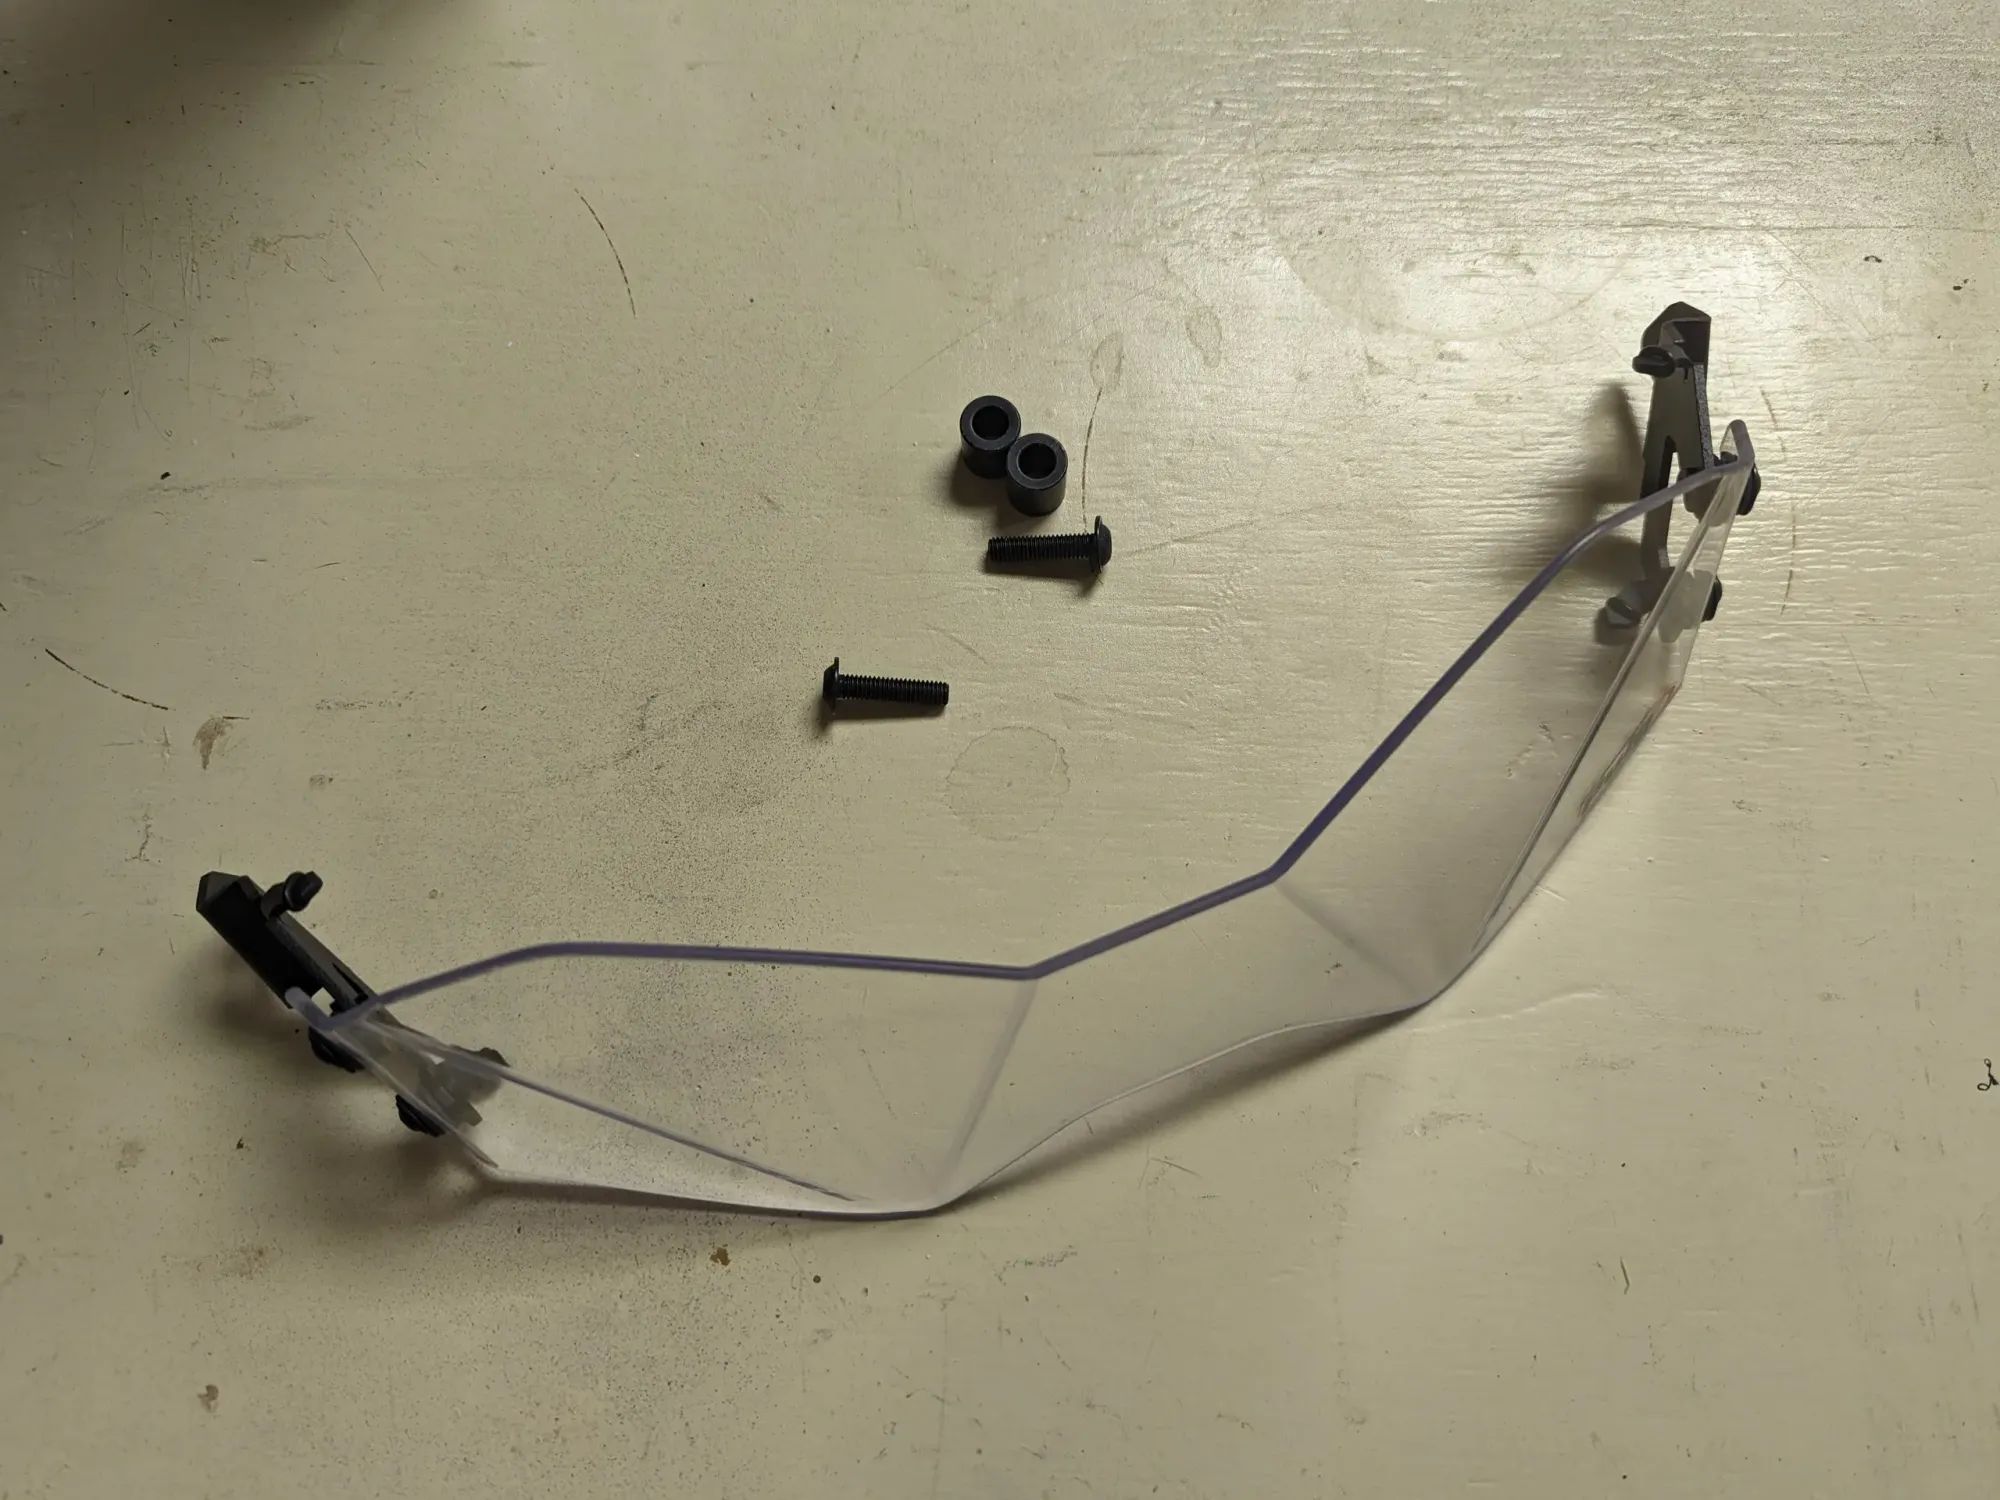
I opened the box and took out all the contents. As you can see, there is not much to it.
Looking at the instructions, we remove the stock screws on the sides of the headlamp.
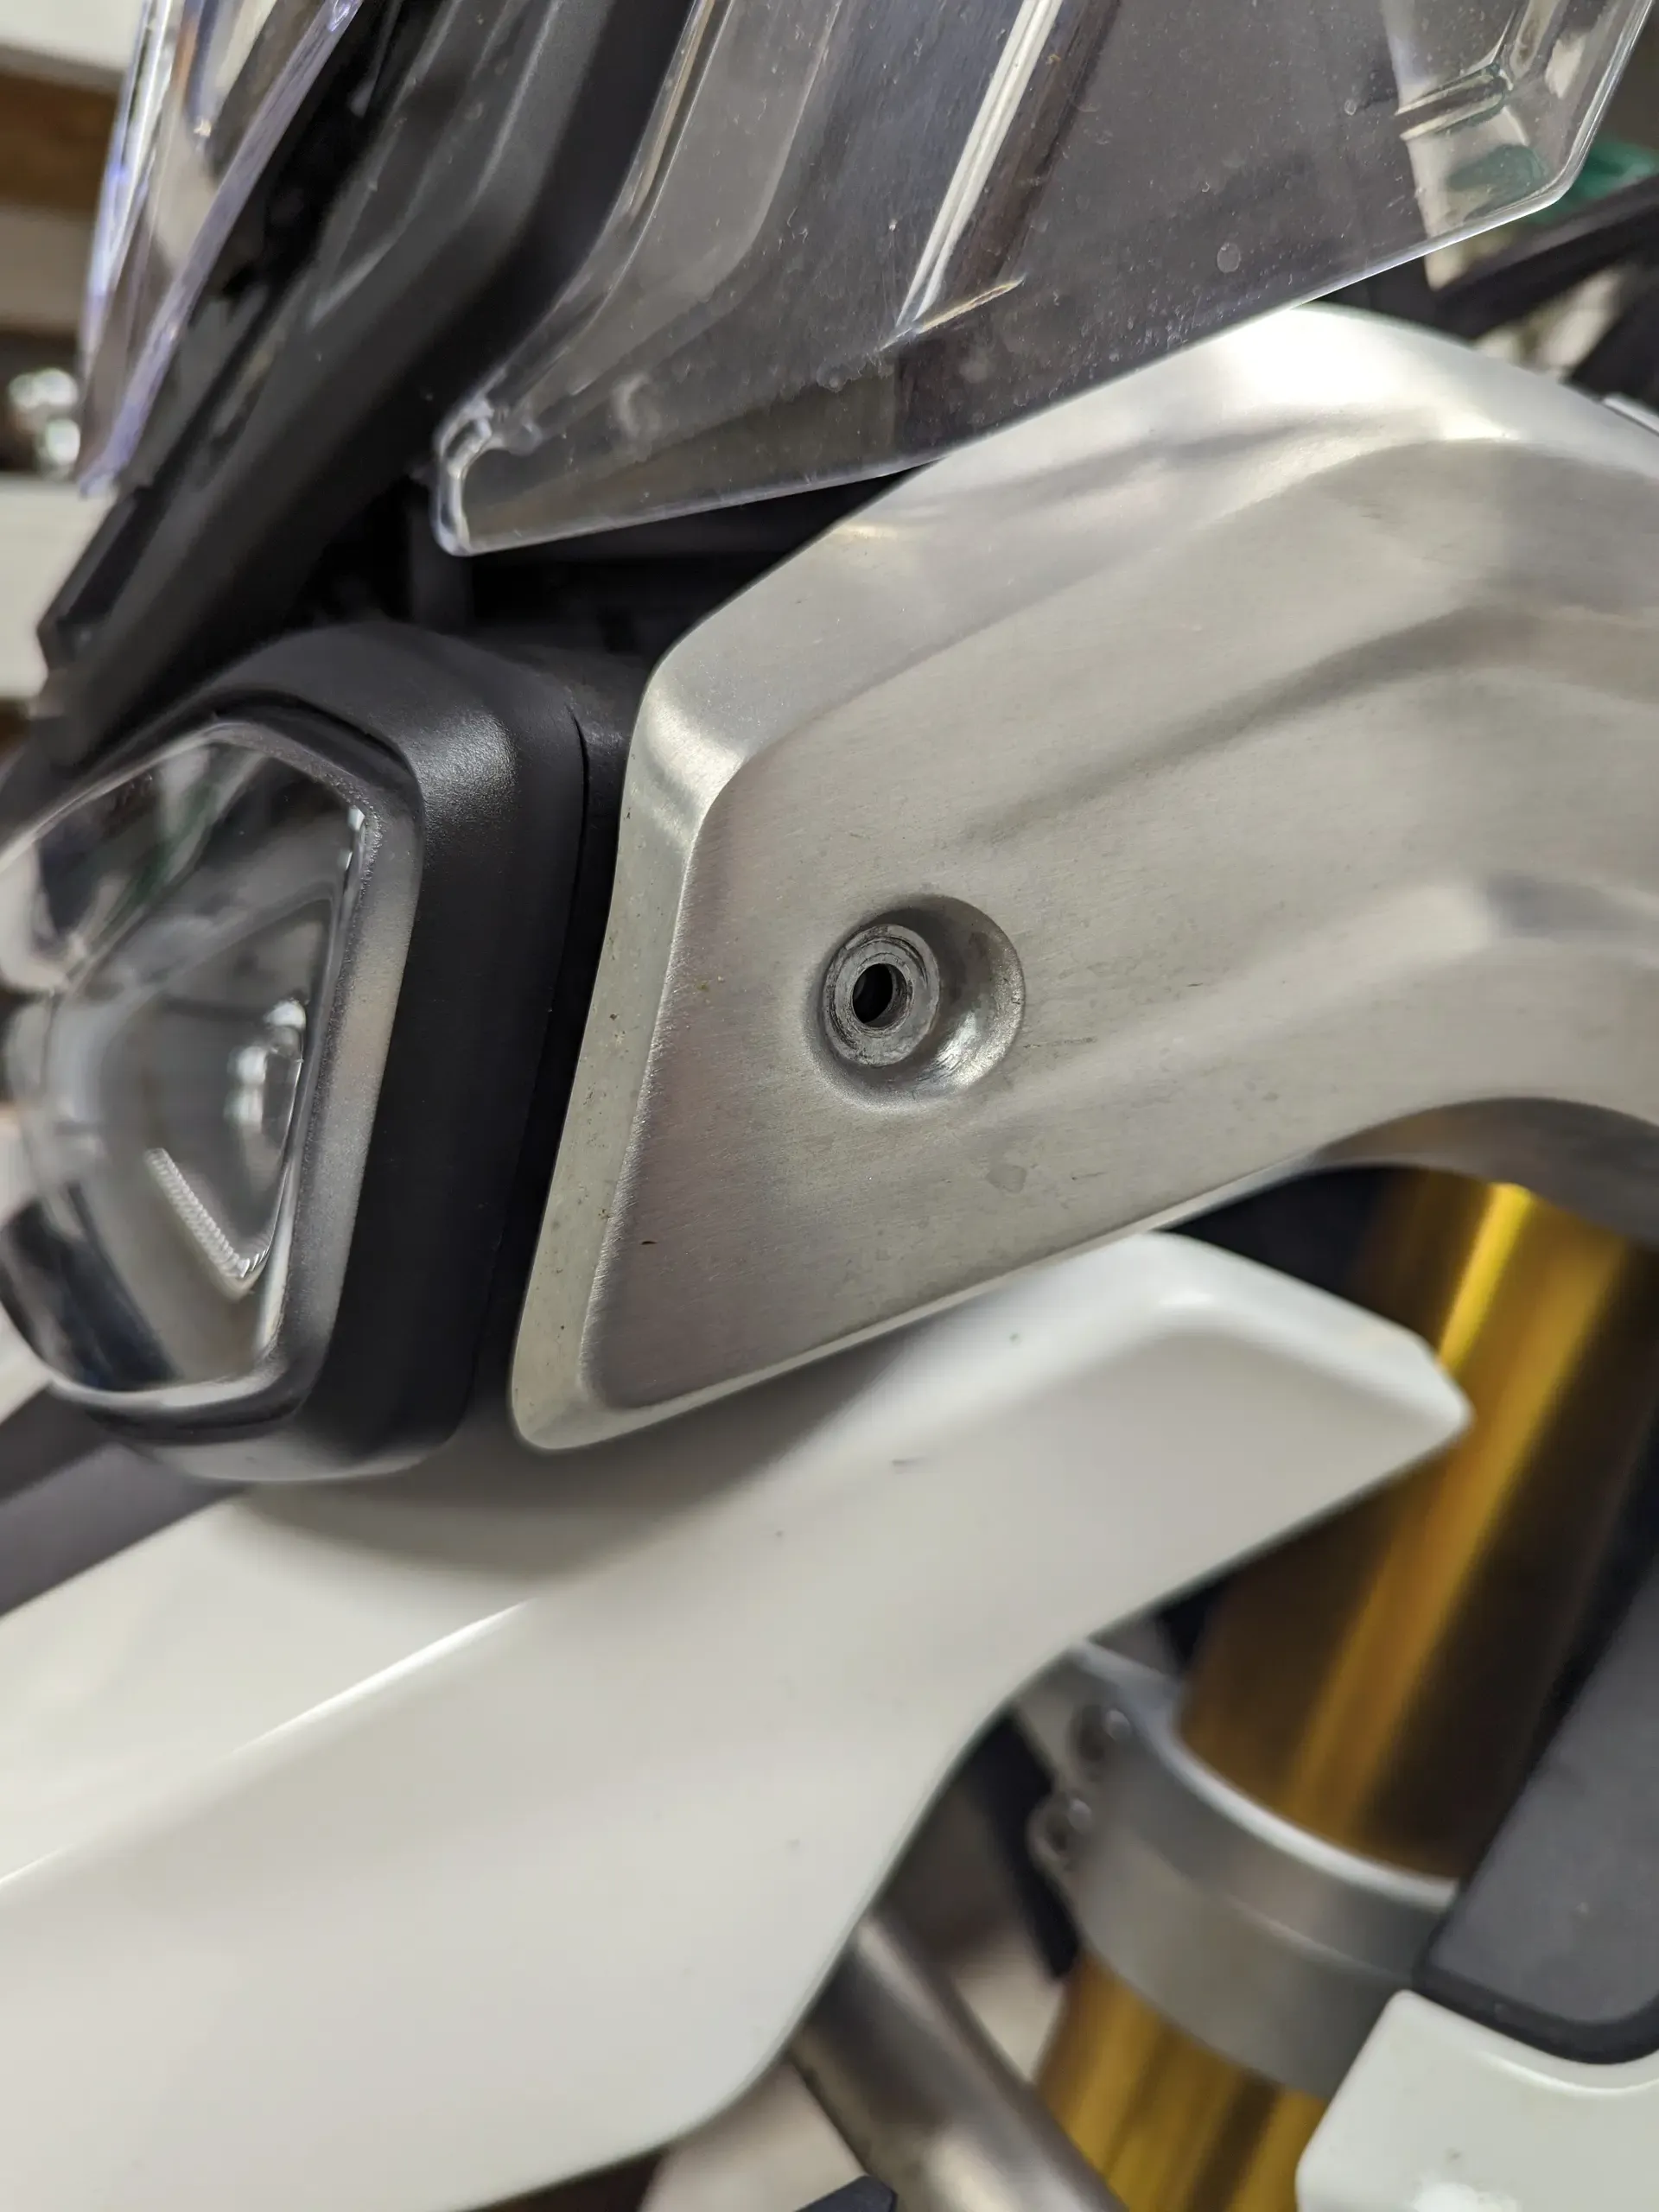
Mount the screw, spacer, and bracket on the side of the headlamp.
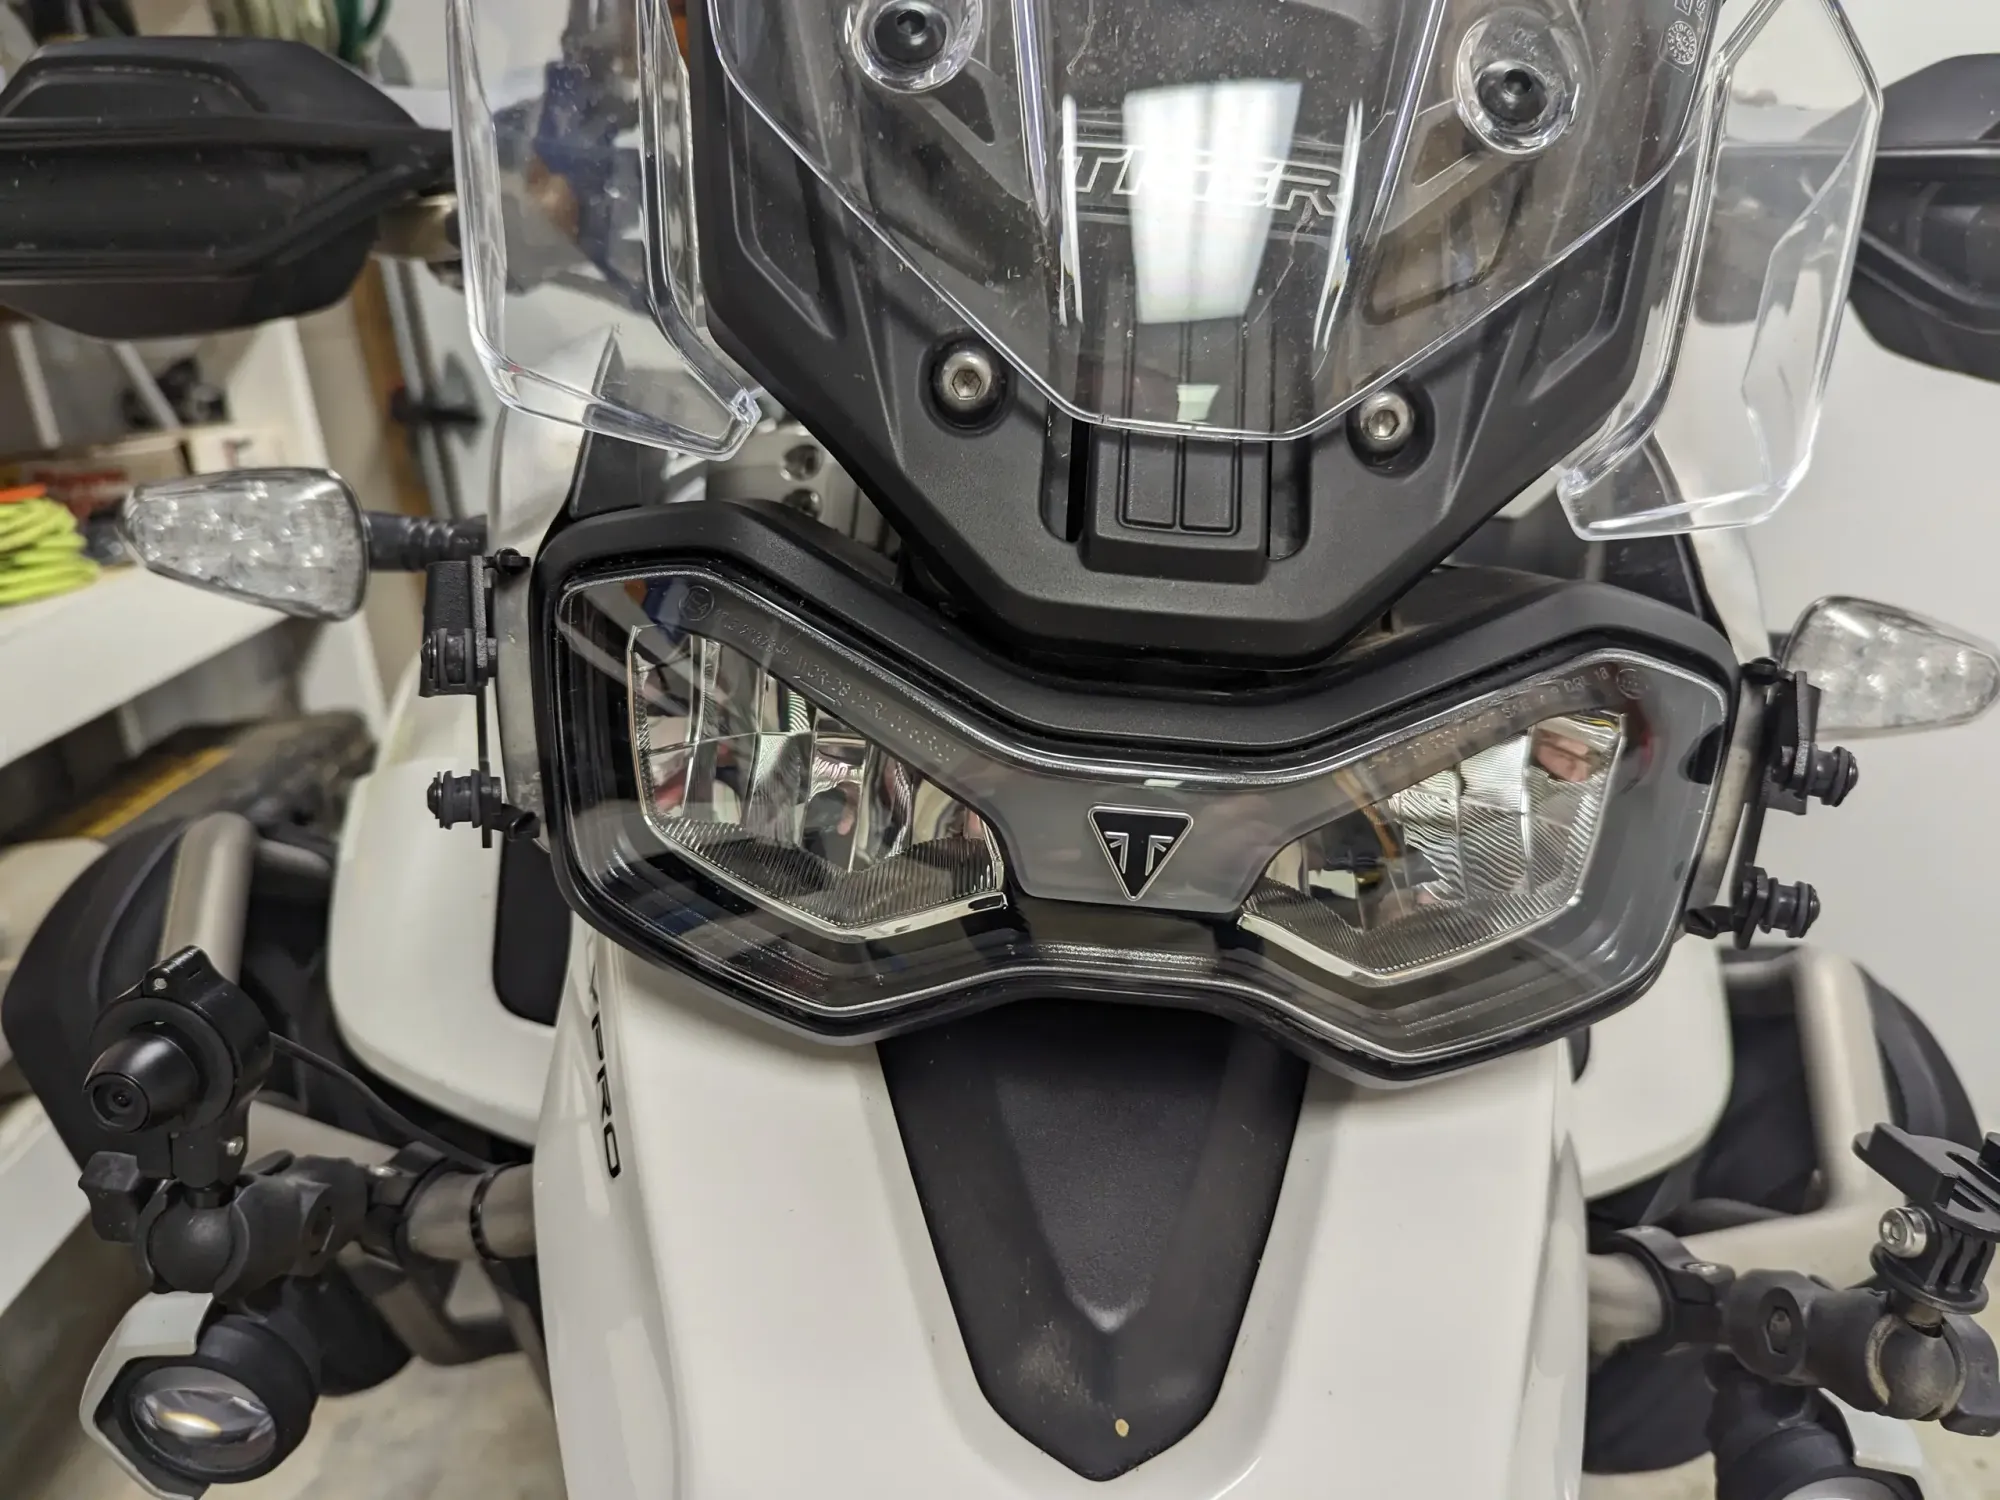
Once both are mounted, attached the plastic protector lens.

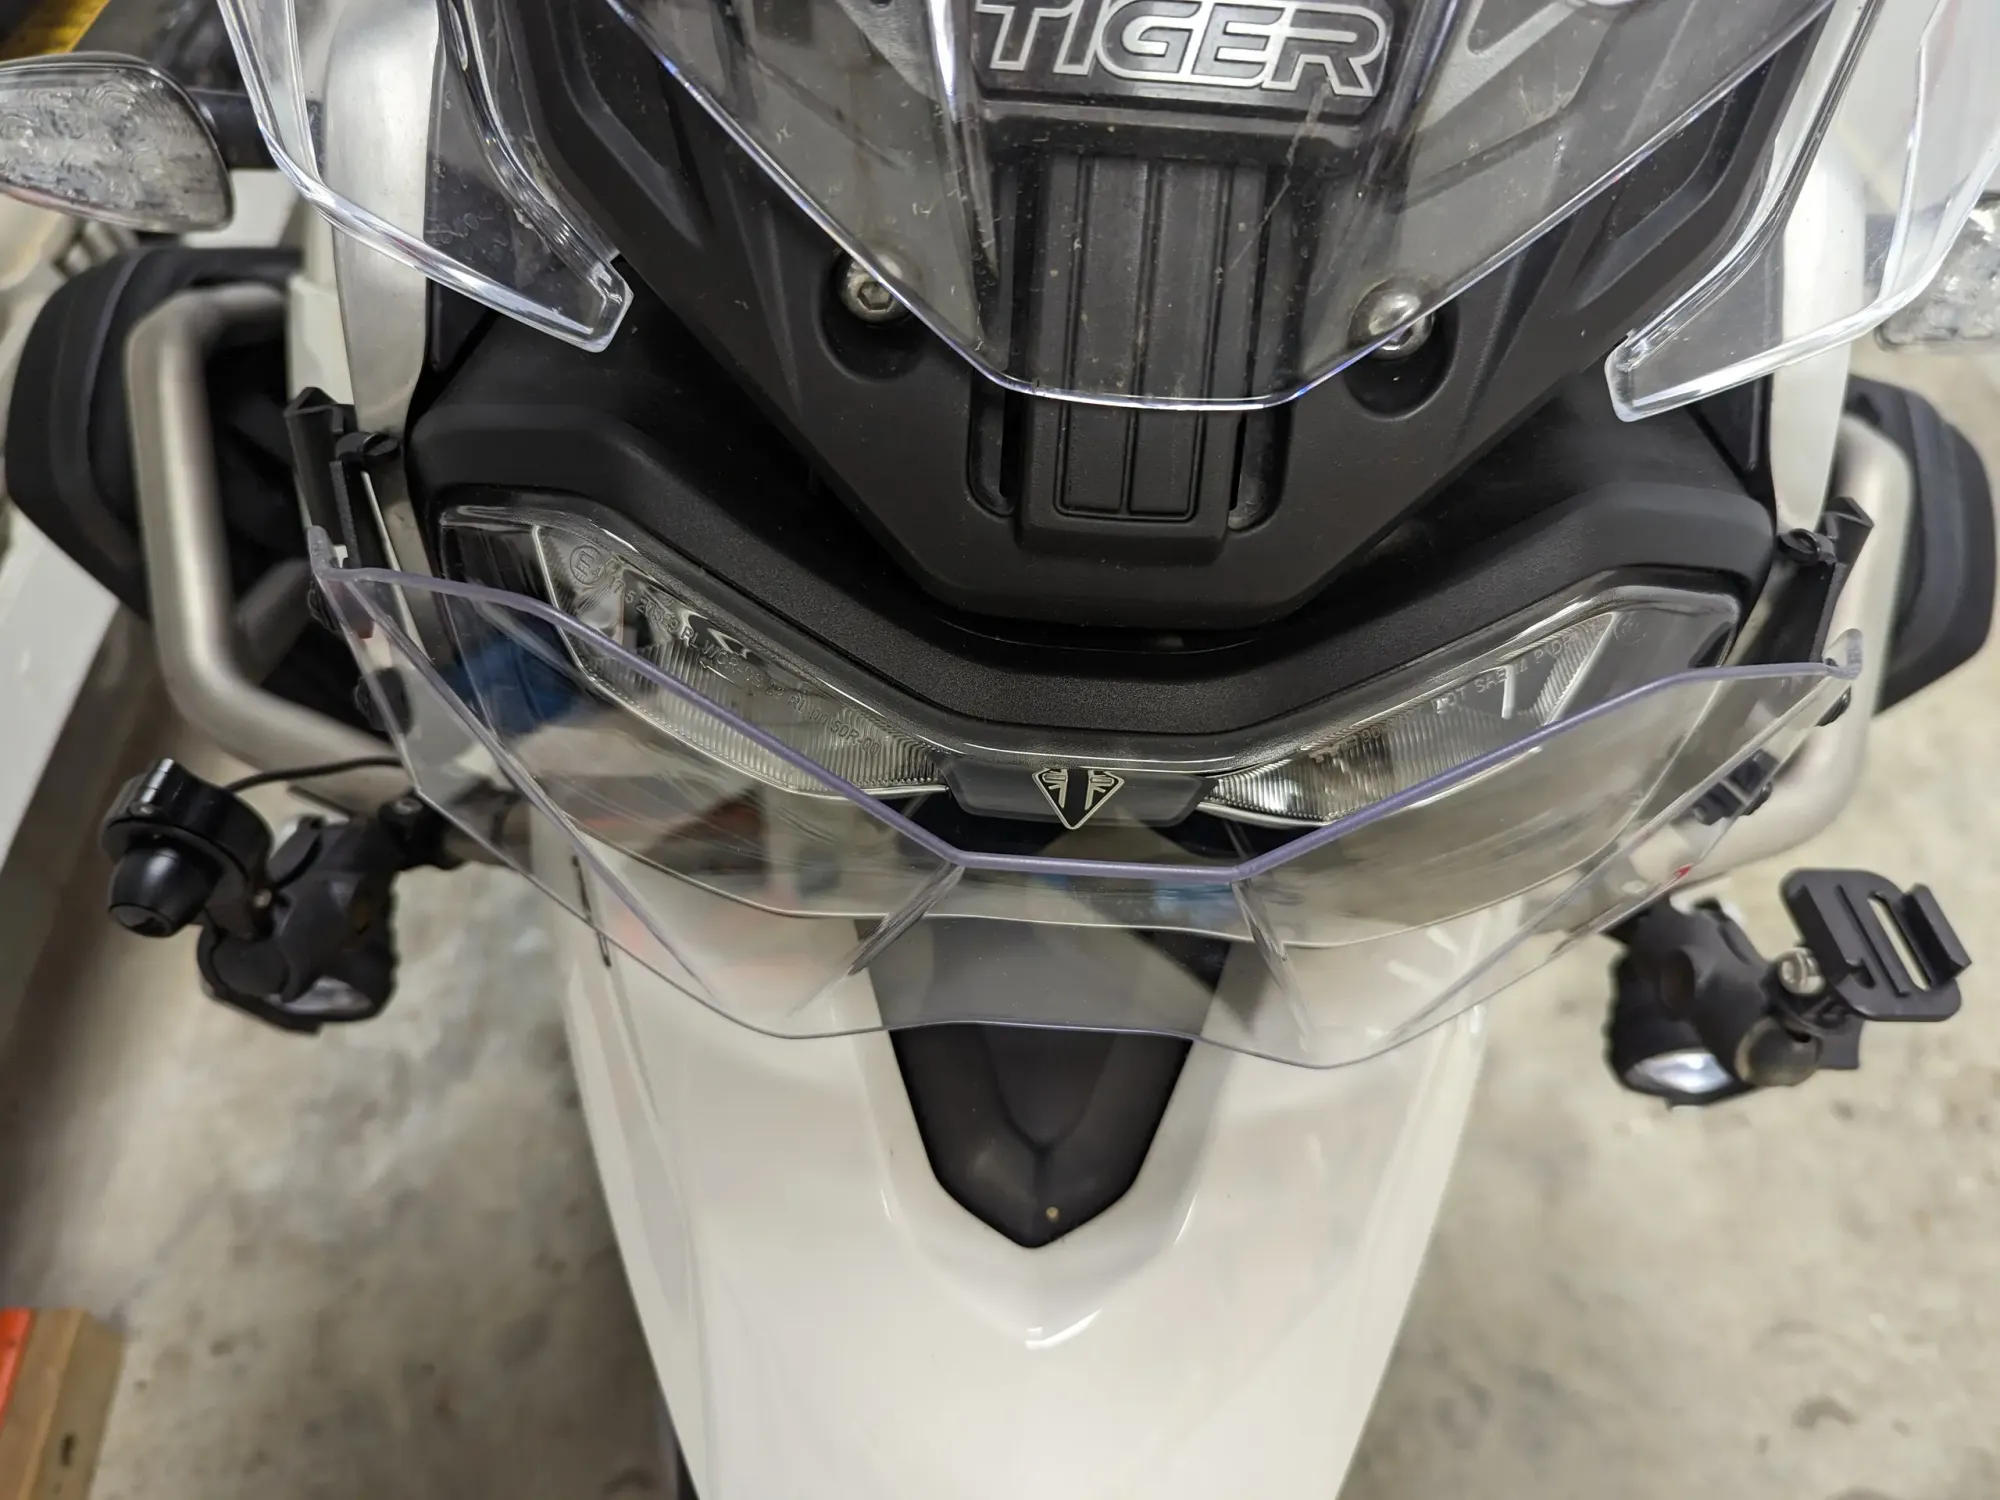
Now tighten up all the screws and you are done. Yup. That easy. Here is a top view.
What I like about this is that the lens will keep the bugs and most grime OFF the headlamp. I will still need to clean it periodically but most of the crud is caught my the lens protector. It is also EASY to remove. Loosen the 4 attachment screws and pull right off. This will give you access to the headlamp.
Hopefully this will do its job as prescribed. From the reviews, folks love it and it does what it is supposed to do. Only time will tell.