Display That Phone

One of the main sources for directions on my motorcycle has been my TomTom GPS. I still love it and use it all time. I use it not only for directions, but for a glimpse at the roadway up ahead (corners, etc.). Over the past 6-9 months, I have also been using Google Maps on my phone for directions (I hear the directions in my helmet). The main reason for using the phone is that Google Maps is more up-to-date about road closures, traffic james, etc. Both the phone GPS and my TomTom have their strengths and their weaknesses but that is another topic.
In my helmet, I have a Sena Bluetooth setup that I have mainly used for music. This also allows me to hear my phone to take phone calls and listen to the GPS. Up to this point, I have never really had a NEED to view my phone screen. Since I can hear my phone, if I wanted to use Google Maps, I set my destination and would listen to the directions (and use my TomTom GPS for visual confirmation). This has been working great for a long time.
There have been times where seeing the navigation screen would have been helpful so I began looking for a phone mount. I wanted one that was strong, easy to get the phone on/off, and flexible for modifications if needed. After researching for over a month, I decided on the mounting system by SP Connect.
My number one concern over any type of mount is that the phone stays secure...always. Last thing I need is to watch my phone fly off at 60mph. Many of the manufacturers had fantastic mounting systems. Some are easier to operate than others. The SP Connect has a patented twist and lock mechanism. They say it is bombproof and it feels like it.
My next concern was ease of attaching and detaching the phone. Since this uses a twist and click mechanism, you need enough room to be able to turn your phone sideways on the mount and twist into position to lock it (you do have the option of mounting hour phone vertically or horizontally). It takes a few times to get used to how the locking mechanism works but once you get the hang of it, it is quite simple.
Finally I wanted enough flexibility to change my setup easily without having to buy a completely different setup. I was able to purchase all the pieces I needed separately and was even able to use my own ball mount gear that I had laying around which saves quite a bit of money.
For my bike, I purchased 3 items but only two are were required to complete my setup (I also purchased the anti-vibration accessory but it is NOT required).
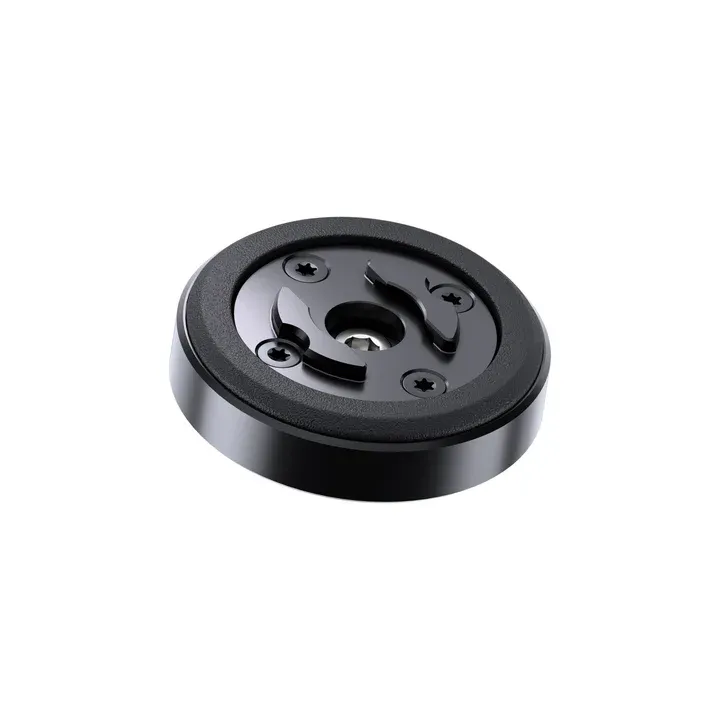
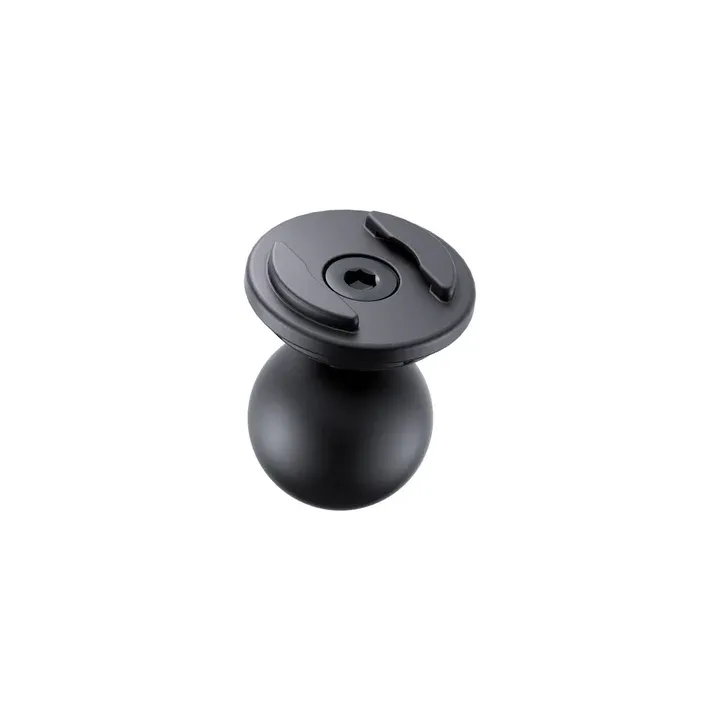
SP Connect components for my bike
The phone case is required. I was a bit skeptical at first but once I got it in my hands, I realized that this case was very slim and seems to do a good job of protecting my phone. I thought it would feel very bulky but I was pleasantly surprised by its size. On the ballhead mount, I had to swap the standard mount with the anti-vibration option. Just a single hex screw and you are set.
Luckily, I already had many of the other Ram mounting accessories needed which were left over from other installations. I needed to use both the handlebar mount and double socket arm
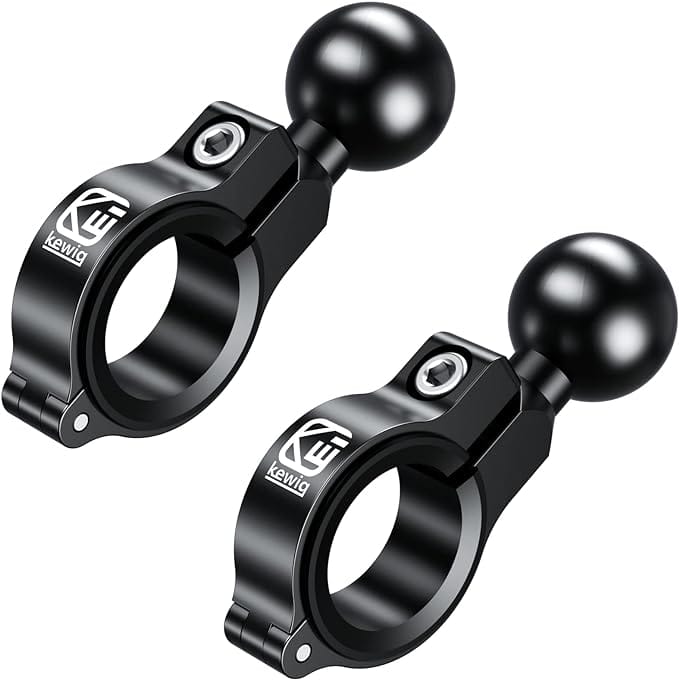
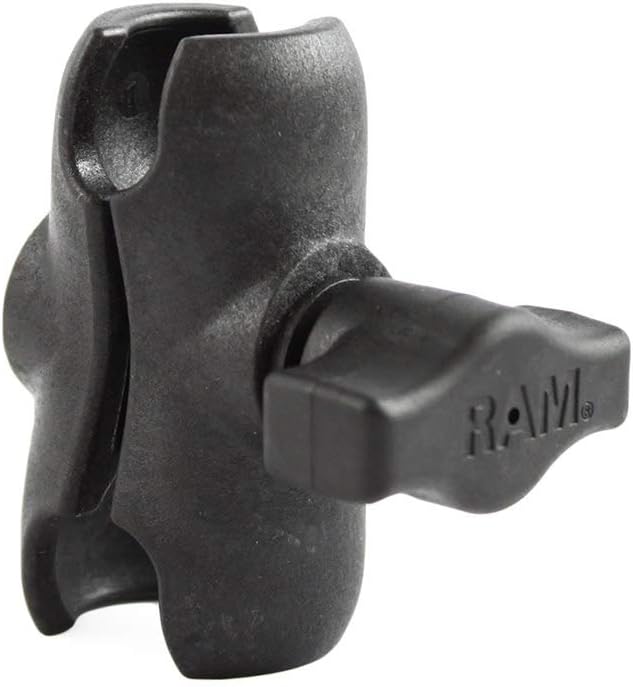
Other Ram mount accessories needed to mount the phone on the motorcycle.
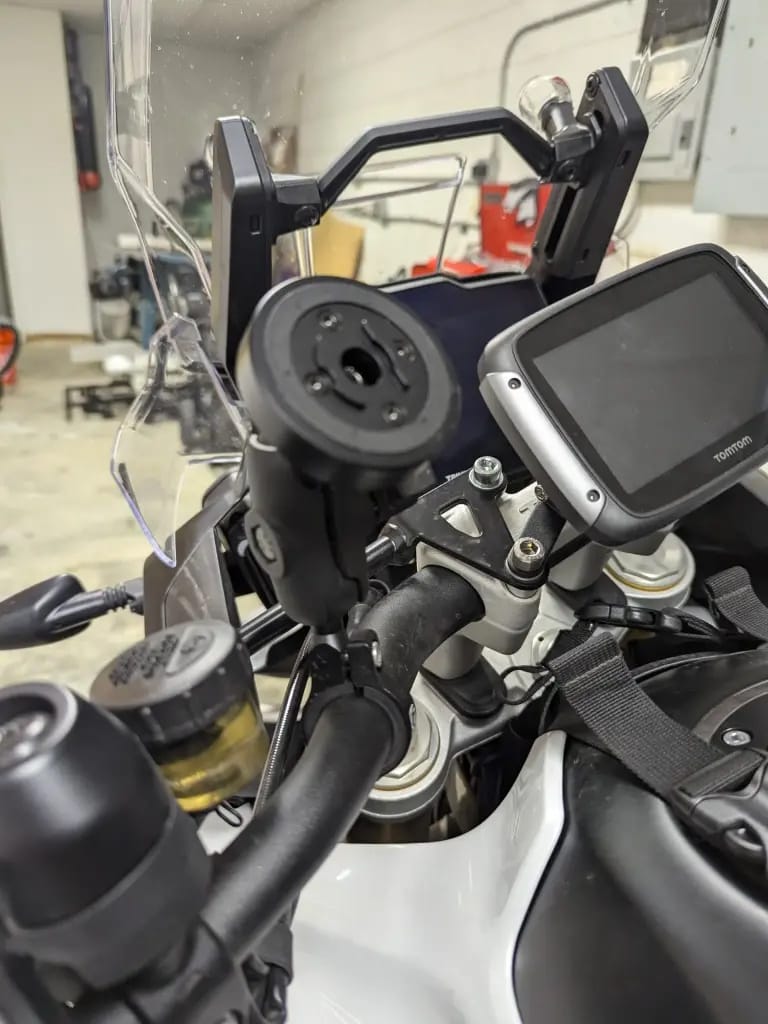
I attached all the pieces together and began moving the mount around to find the perfect placement where I can see the phone easily AND be able to connect and disconnect the phone without hitting the GPS or any other item on the handlebars. After a bit of fiddling around, I came up with a perfect spot.

I would post a picture of the phone in the mount but I need my phone to take a picture of it. With this new setup, I can easily connect my phone and see Google Maps while I ride.
One thing to notice about that this setup, it does NOT have a charging unit. You can buy that separately if needed.
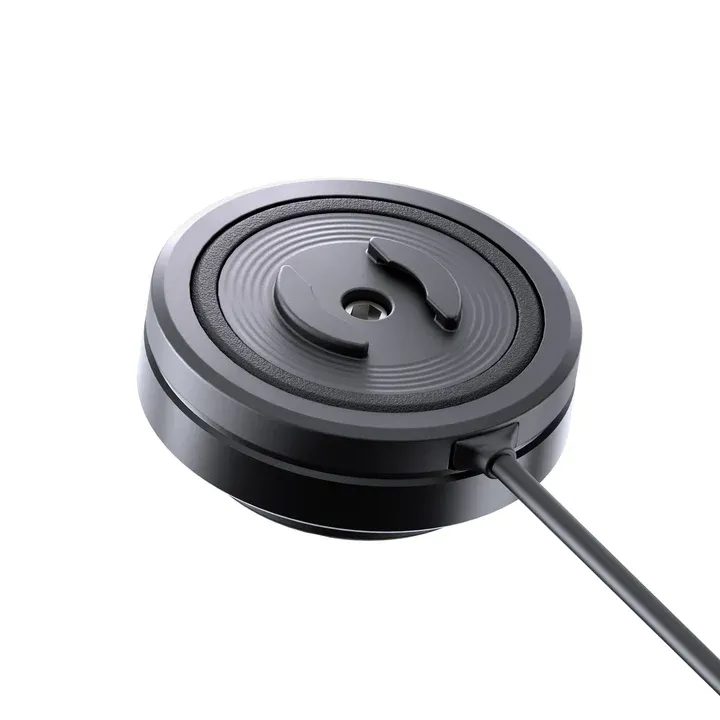
Before spending the $100 for this unit, I wanted to first see if I liked the mounting system. I figured if I needed to charge my phone while riding, I can purchase this item and quickly put it on the bike. I usually do not have my Google Maps displaying all the time (the display is what eats batteries). I keep the display turned off and if I need to quickly see the map, I press a button and it quickly appears. So far this has not been an issue but who knows, I may buy the charging unit at some point.
Speaking of phones, one thing to be aware of when mounting your phone is rain and heat. First, my phone is NOT waterproof and neither is the case. If you are going to get into some heavy rain, you may want to disconnect the phone. Most phones these days resist water very well but I do not take any chances.Phones are quite an expensive AND almost seem mandatory in todays lifestyle.
The other issue is overheating (and yes, getting too cold can be an issue as well). The most likely culprit will be direct sunlight but using the display, apps, GPS, or anything else CPU intensive on the phone can cause it to heat up. Most phones like to operate between 32 and 95 degrees Fahrenheit. I think the actual cutoff temperature is around 113 degrees. That seems high but if you keep your phone in direct sunlight, it can heat up pretty fast. If you do happen to reach that magic temperature, you may get a warning message stating that the phone needs to cool down before you can use it.
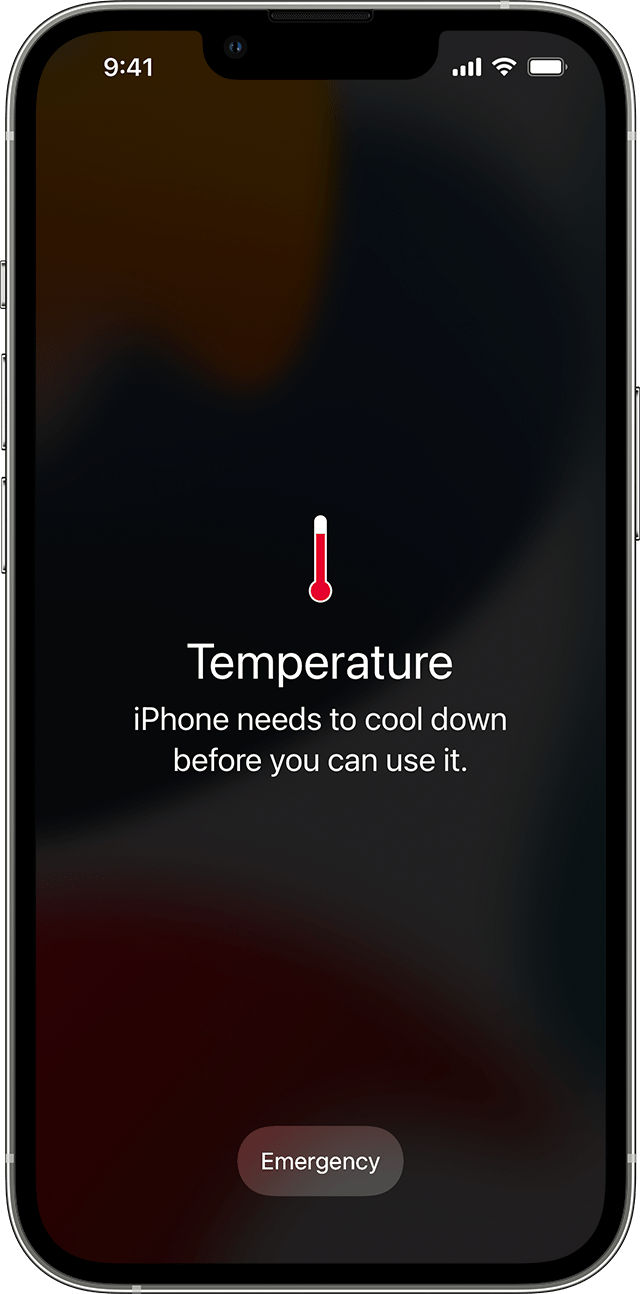
I have seen my phone overheat before but not while using this new phone mount (I left it face up on my seat for about 5 minutes). These are just some things to be aware of once you start exposing your phone to the elements.
Overall I love the new mount. I do not use it every time I get on the motorcycle but only when needed. I still use my GPS a lot for navigation but have noticed using Google Maps more and more. As I stated in the beginning, I do not think I will ever get rid of GPS in favor of just the phone as there are just too many things the GPS does better right now (but that can change).